Old Is New Again

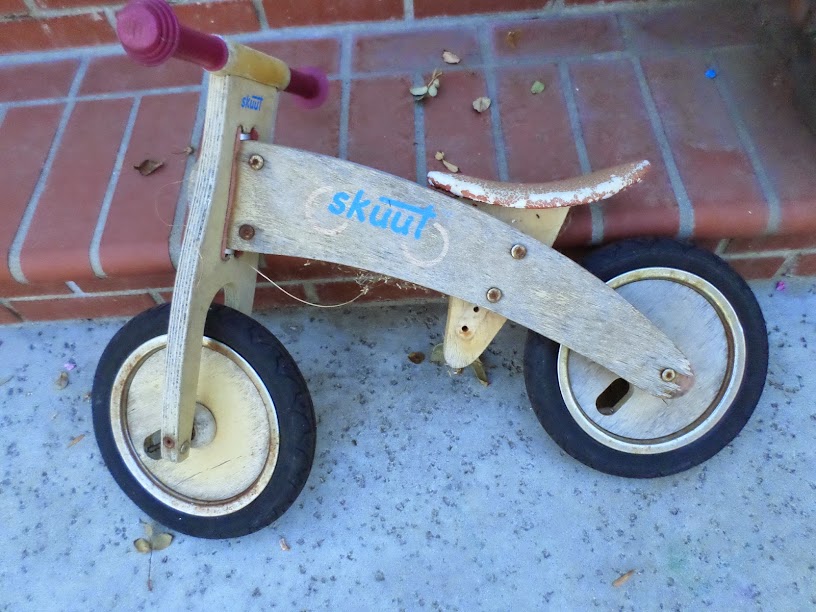
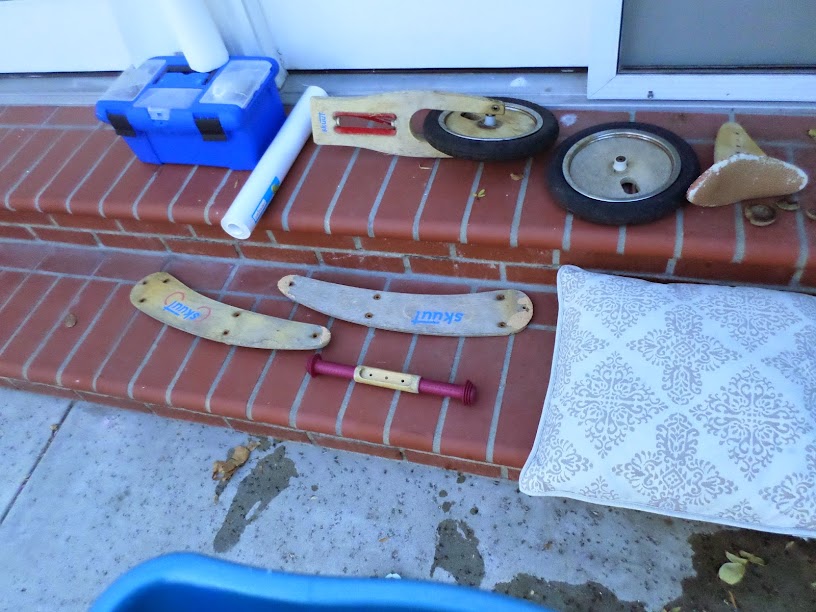
This bike started with the godparents’ oldest boy, then was handed down to the now-five-year-old who never really used it, and now has been passed to the just-yesterday-turned-two-year-old. It needed some love. So I took it apart,

cleaned it up and gave it a nice coat of paint. Not to mention de-rusted the bolts. Some of those things were so rusted I couldn’t budge them without about half a can of WD-40. (Well, the generic version of it from Ace Hardware.)

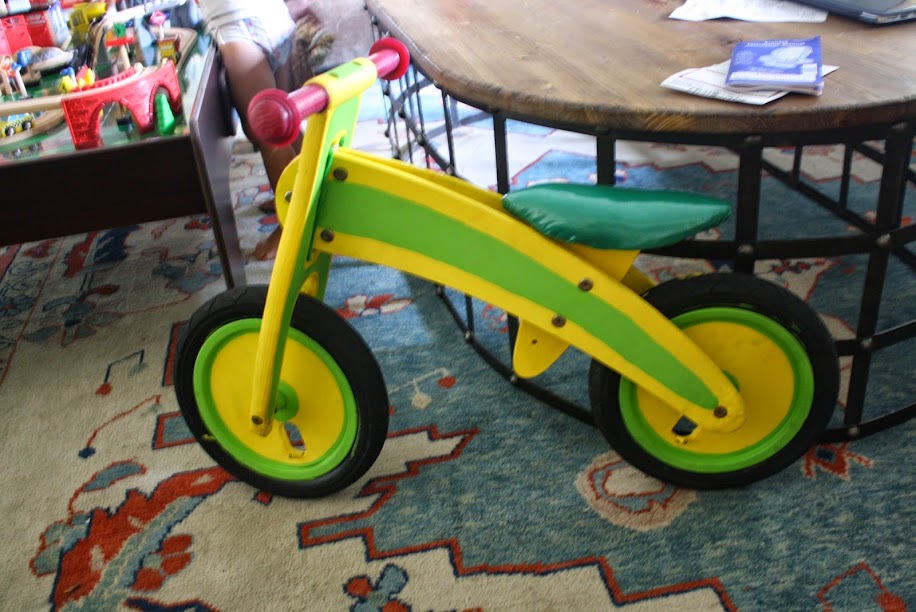
Anyway, I asked the birthday boy what colors to paint it. His response was “lellow” and “geen”, so here’s what it looks like now:

New, fluffy seat covered with weatherproofed cotton, clean bolts and sealed paint. Much more fun to get excited about riding than the old one.

Quick DIY: Neon Chalk Sign

I bought some chalk markers the other day, these chalk markers to be exact, and immediately I knew I had to make some decoration with them. After livening up my “To Do” board with the nice, fluorescent colors, I knew I wanted to make something a little more “permanent.

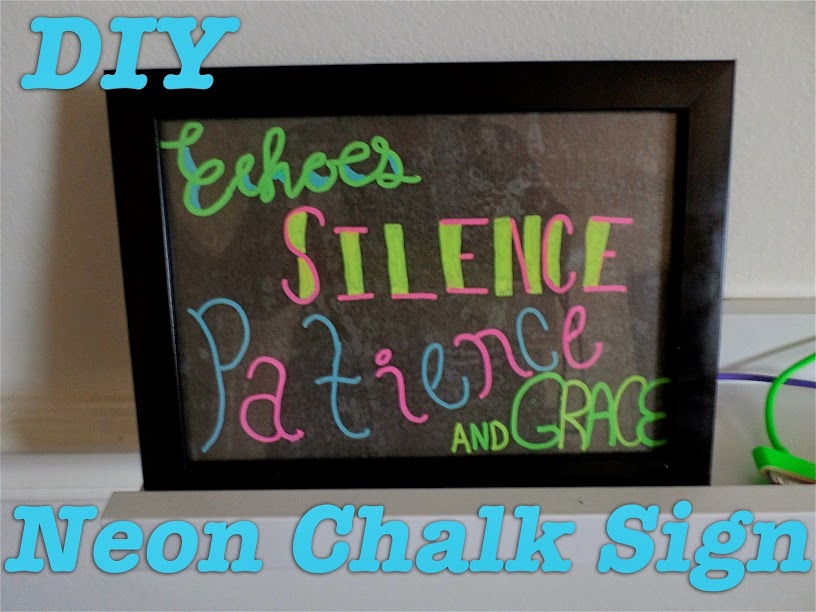
The perfect idea came to me as we were shopping in Target. I got a frame and decided to make my own “neon” sign. It’s so easy and took me only about half an hour including sketching out how I wanted it to look.

What You’ll Need:

  • Chalk Markers
  • Ruler
  • Scissors
  • Black (or Dark) Paper
  • Pencil
  • Eraser
  • Marker (with similar sized tip as chalk marker)
  • Library/Credit/Store Loyalty Card

Not Pictured:

  • Picture Frame with Glass plate (I used this one from Target)
  • Scrap White Paper
  • Tracing Paper
  • Clear Contact Paper

How to do it:

  1. Start by deciding on your phrase and sketch out how you want the words to look. I started with regular printer paper and writing the words as large as I wanted to see which style of typeface would work for the effect I wanted. I used the title of my favorite Foo Fighters album because it’s also just a phrase I find stuck in my head regularly.
  2. Once you have your styles chosen, remove the backing and front plate from your frame and trace inside the actual opening of the frame so you have the boundaries of what will be visible inside the frame. This way you know exactly how much space you have to work with.
  3. Lay out your phrase the way you want it to look inside the frame. This may take a few tries, so I would suggest to trace yourself a few spaces to use.
  4. Once you have it looking the way you want it, trace it onto the tracing paper using your regular marker. Make sure you also trace at least the corners of the bounding box to match up with the glass.
  5. Now you want to clean the glass with a damp paper towel and dry it really well with a dry one. You want to be sure there are no finger prints and you want to be sure there aren’t water streaks that will cause the colors to run.
  6. Flip your tracing paper over so the words are backwards and lay the glass over it so the words are where they should be.
  7. Now trace everything with your chalk markers. You want to make sure everything looks the way you want it to. Make sure it has a few minutes to fully dry, as well.
  8. Take a piece of clear contact paper that has at least a few inches on two sides to hold onto and place it flat over the glass. Take whatever type of plastic card you have on hand and smooth out any bubbles that may have occurred.
  9. Cut your black or dark paper to fit inside the frame and reassemble the frame with your glass, the paper, and the backing. You are finished!

Now you have a nice, bright sign to decorate your space. If you ever decide you want it to say something different, just remove the contact paper, wash the marker off, and start over.

Mine is now adding some much needed color and decoration to the shelf I added to my wall as a charging shelf. It was very bare during the day when I had nothing charging.

Bubbles, Bubbles Everywhere

Well, only a little bit while I was filling the bottles, and when testing out the solution.

What do you do when a kid is really deep into a phase of character obsession? You give in and make everything about his birthday presents reflect that, or course. Well, you do if you are me and generally terrible at coming up with gift ideas.

Confession: I like to make a good chunk of the gifts I give just because I walk into a store to buy something for a person and can spend hours wandering in circles without coming up with anything. At least with making something I can tailor something generic into something I think they will enjoy.

So, what do you give a four-year-old who has a ton of toys and yet mostly just plays with whatever his baby brother is interested in because that’s how four-year-olds are? Bubbles. Also, because that is how I like to keep him occupied outside while said baby brother naps in the mornings.

I made a home-made bubble solution using 1 part baby wash (so it won’t sting so much if bubbles get blown into baby brother’s eyes, ahem), 1 part light corn syrup (so the bubbles are more elastic), and 2 parts water. I also made them slightly more special than store-bought bubbles by creating four smaller bottles of scented bubbles. I added a teaspoon of extract to each of the 3 oz containers to make chocolate, peanut butter, orange, and vanilla bubbles. Then I poured the rest of the bubble solution into the corn syrup and baby wash bottles with the labels removed and set about making my own labels for each bottle.
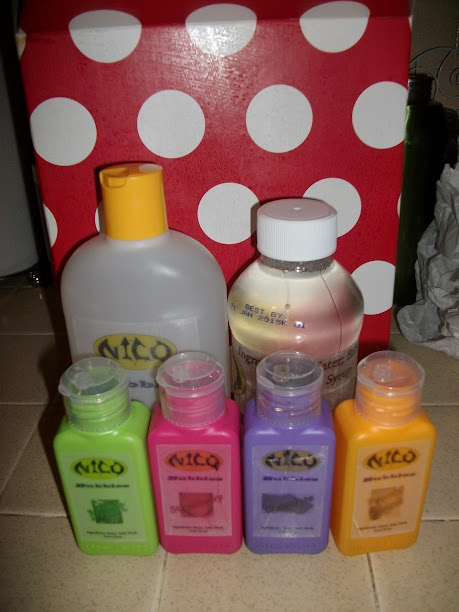
I created a Batman-esque symbol using his name and then labeled the bubbles with their ingredients, just because that is always a good thing to put on a label. I love Photoshop and Illustrator. Just saying. Anyway, I printed them on clear labels (and forgot how horribly the ink smudges on those labels so my mother and I had to layer packing tape over the top before we stuck them to the bottles) cut them out and stuck them on.

Did I mention I did all of this the day before his birthday party? Yeah, I’m really bad at waiting until the last minute on things like that.

But not as bad as the other part of his gift. Which I will tell you about on Wednesday since I started out writing this as all one post and it got very long and very wordy very quickly. But don’t worry, that one has a story that is just as entertaining as this was, or perhaps even more so.

Do you have a go-to gift idea? What do you get for small children when their birthdays/other gift-giving holidays come around?