Light and Breezy

I love layering. So much so that I have a drawer’s worth of plain colored t-shirts and tank tops that exist solely to be worn underneath other shirts or vests. I mean, I could wear them by themselves, but that would be boring.
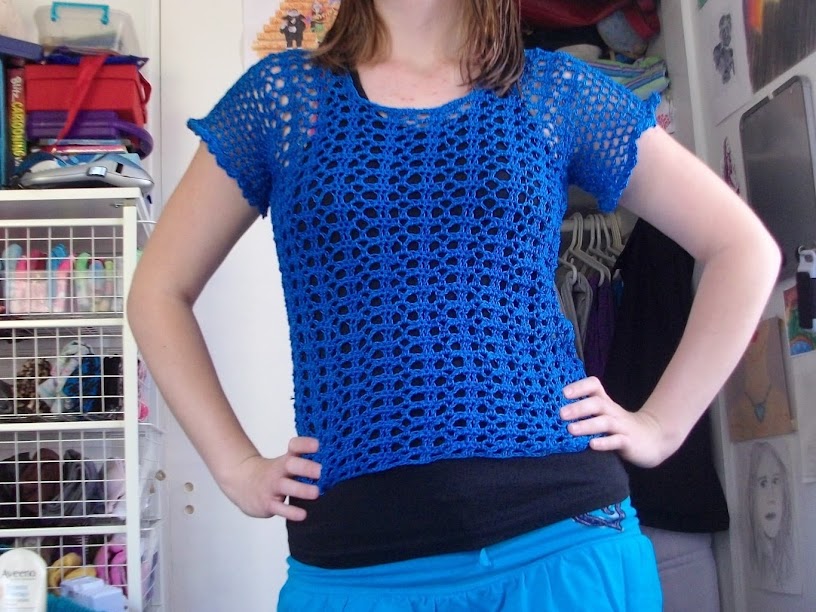
One thing my dresser has been missing for a while in the layering department is what I like to call a “mesh shirt.” I’m sure it has another name, but I am too lazy to actually look it up. I had one for a long time that was pastel tie-dye, but it had a few holes that were bigger than they should be because they got snagged or torn in the wash.

Browsing for projects (because I never have enough projects lined up, right?) I came across the Breezy T pattern by Brenda Bourg on the Red Heart website. It was so perfect I even matched the color of the sample.
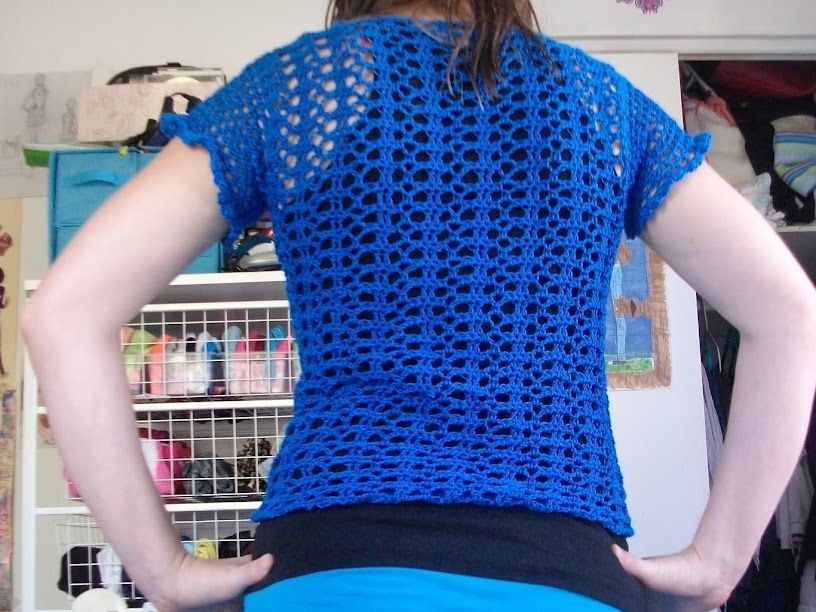
It turned out extremely well. This was my first attempt at crocheting a garment. Many hats before, and a couple of arm bands, but never a shirt. That kind of thing I tend to reserve for knitting. Because (for those who don’t know) knitted fabric tends to have more drape and be more suited for clothing than stiffer, crocheted fabric.
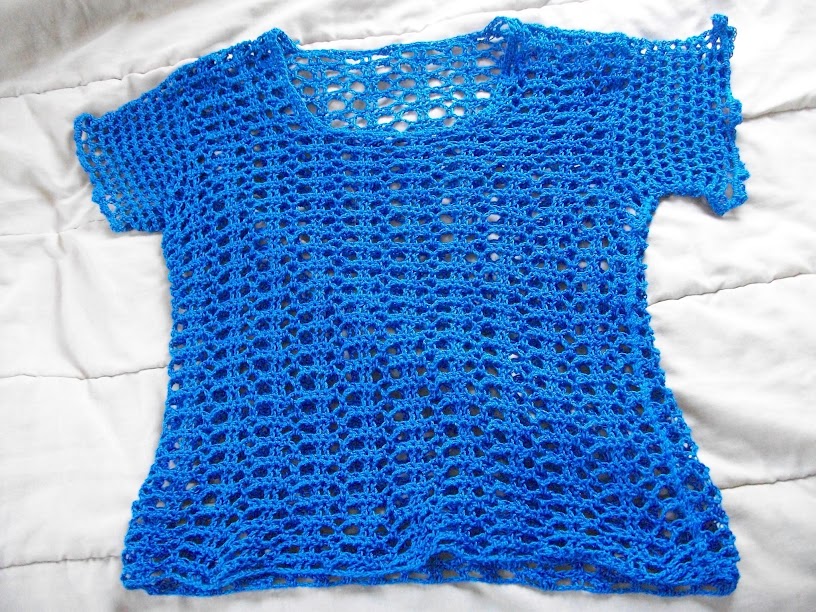
Because of the mesh structure, though, this shirt is quite nice and soft. The one thing I changed from the pattern was the sleeve edging. What was written does not seem like the edging in the sample picture, plus it was way too wavy. Instead I used a simple edging that would give me a similar shape to the picture (details here if you want to know, along with all details for the project).
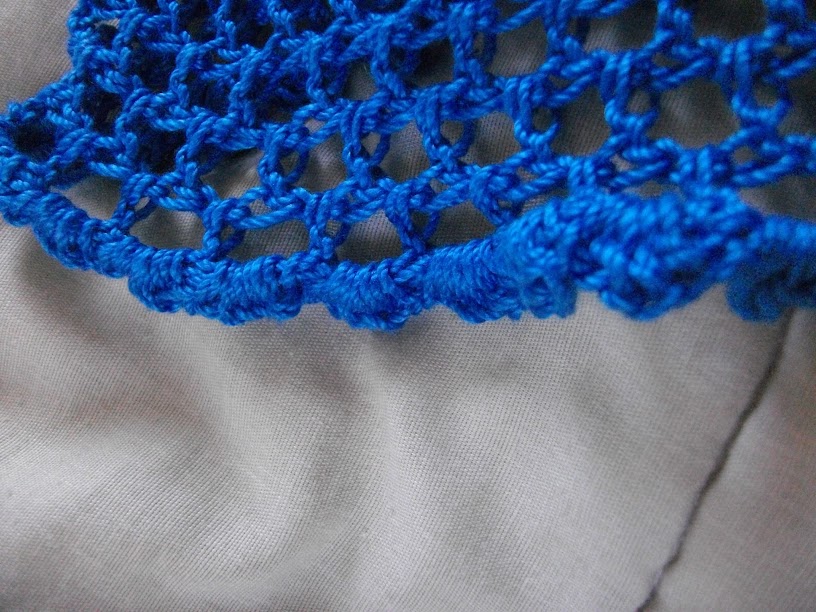
This may become my favorite layering piece of the summer if the temperatures stay where they are. Turn a tank top into a work-appropriate look without making me feel like I’m boiling in my skin when we are outside.

Works in Progress

I usually write about my projects once I’ve finished them, but I constantly have many different things going at once. Kind of a creativity ADD, if you will. At the moment I have three different things on the needles, plus a sewing project in the “pile of fabric stage”, and some painting projects in various stages of completion/planning.

My carry-along project this week is the same one I was working on at the Hollywood Bowl. I’ve been naming this series of Earlybirds after appropriately colored birds, but I can’t think of a purple bird name. Any ideas?

My big project for this month is this little guy, a panda bear lovie for a certain Little Bear’s birthday on Labor Day. I’m just about an inch from the halfway point, where I will be able to start decreasing to make it go faster again. Don’t worry, once I’ve finished the body this little guy is getting black eyes and a nose.

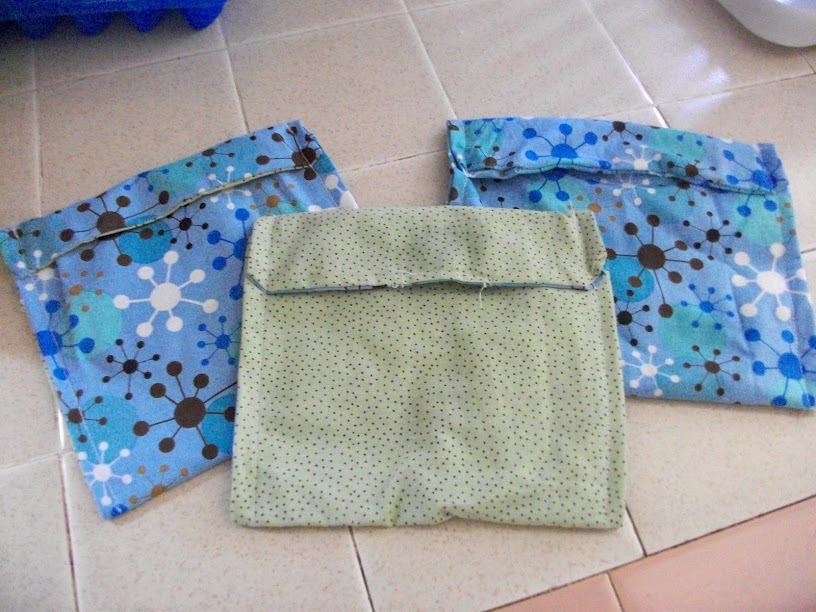
Remember how I said I was going to remake these bags from the Hollywood Bowl night? They are currently my fabric pile. I’m also going to make some snack-sized bags to go along with them. If you want a tutorial to make your own, I got my general idea from this site. I made my own pattern based on the measurements listed on my plastic bags in the kitchen, though.

There are a few other things lying around my room that I am not currently actively working on, but I think this is going to keep me busy at least for this week.

Something Up My Sleeve

Well, not technically up my sleeve yet because it’s still 100 degrees every afternoon and wearing long enough sleeves of that would be absolutely insane.

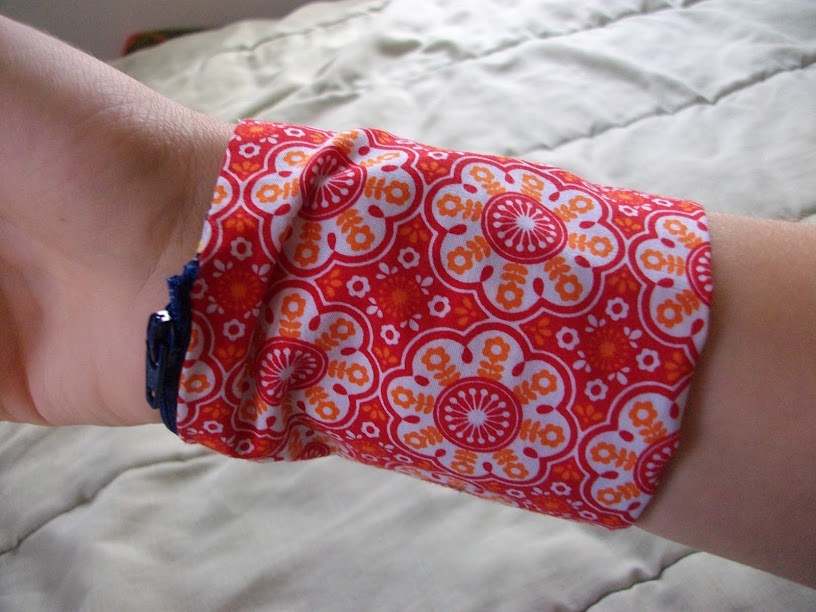
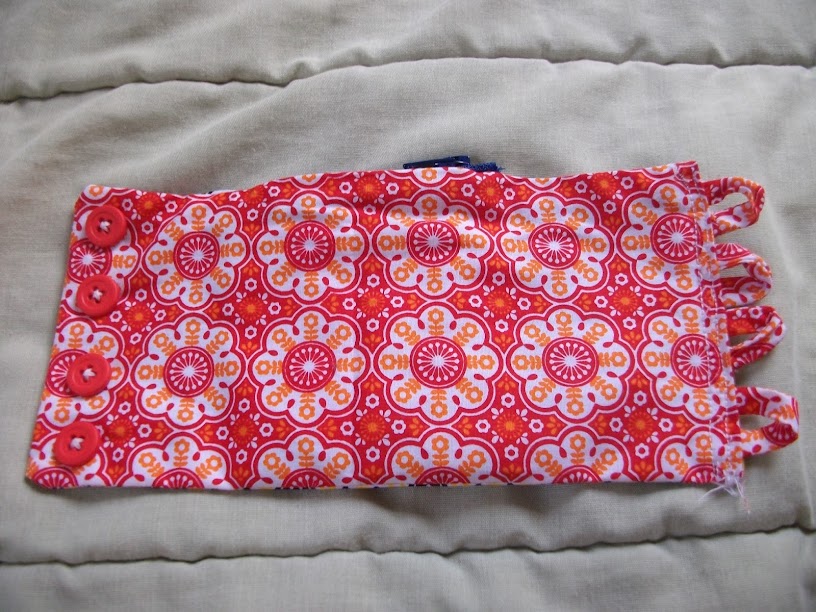
This idea came about when I was preparing for my Paris trip and trying to come up with a way to carry my wallet contents without actually having to deal with a wallet in such a tourist area. Because everyone knows pickpockets gather in tourist areas. Which is why I wear pants with buttoning pockets to Universal. Well, that and so I don’t lose my phone on a roller-coaster.

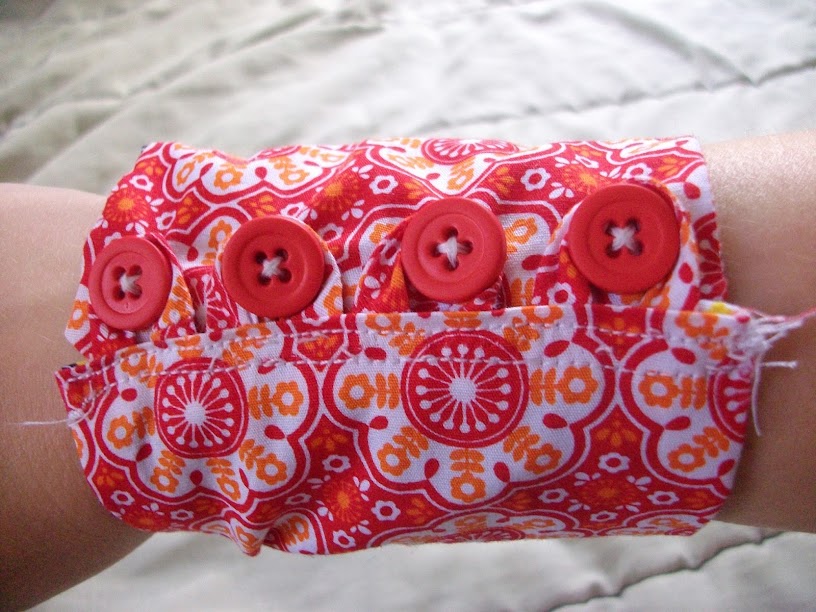
Anyway, back to the wallet. I didn’t actually get it finished in time for Paris because I got stuck on the closure. I had originally planned for snaps so it could be reversible. That didn’t work out so well because I kind of forgot how to put the snaps in, plus snapping it seemed like it might be a little difficult to put on one-handed.

I finally went with buttons and loops. Much easier to put on. I just made a long bias strip out of the remaining piece of the top fabric and cut 4 – 1-and-a-half-inch strips.

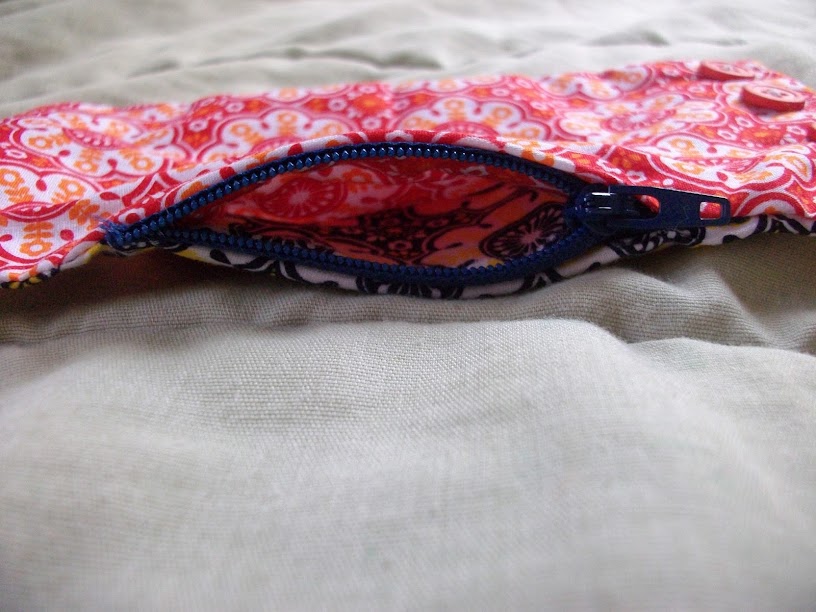
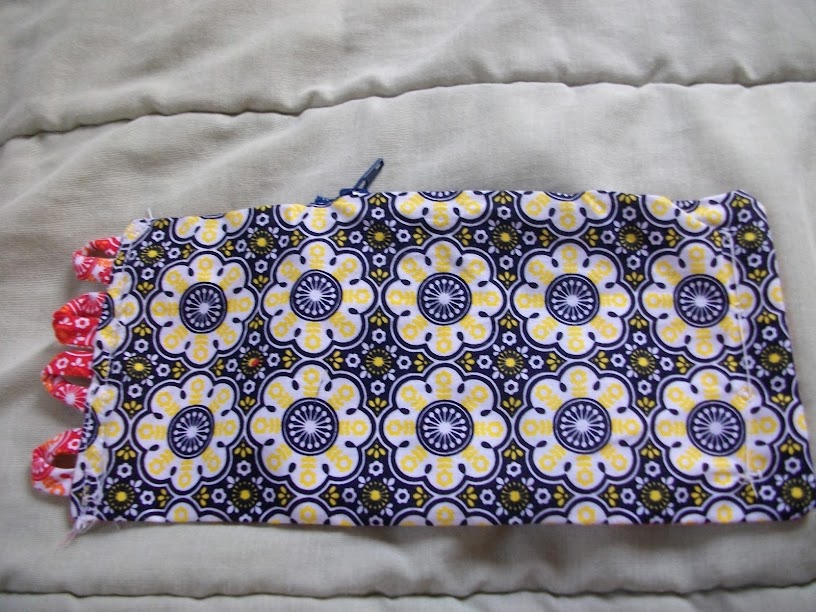
I made an opening with a zipper to keep everything safe inside. I took the zipper pull off and sewed the edge to each side first. Then I put the zipper pull back. Pretty easy to put it together this way.

The fabrics I used for the outside and the lining are the same pattern in two different color ways. Both are from Anthology Fabrics from a couple of years ago.

Outside:

Inside:

I like how this came together, but I think I am also going to make another one. Just to have a couple of options, especially so I can wash one and have another on hand. I think I will do the second one on the bias and just make it slip over my hand rather than using a closure. If it works out, I may just write that pattern up and share it.