Finished Object – Roblox Pillow

(Note: I swear I published this back in September of last year, but it was still in my drafts folder and the link lead nowhere when I pasted it into a private window, so here it is. Originally written to be posted September 12, 2022)

The littlest turned 10 a couple of weeks ago and had a simple request – a Roblox pillow with the logo on a black background.

Friends, they do not make Roblox pillows at all, so it was time to make one. At first, I was going to cross-stitch the name on one side and the logo on the other. Never mind the fact that I was starting this less than a week before his birthday.

I showed him one of my cross-stitched pillows as an example to make sure it was what he wanted, and he said it was, or it could be a soft pillow like his favored pillow he won at a carnival game at a theme park this summer. That would be much easier than cross-stitching two whole sides of a pillow anyway.
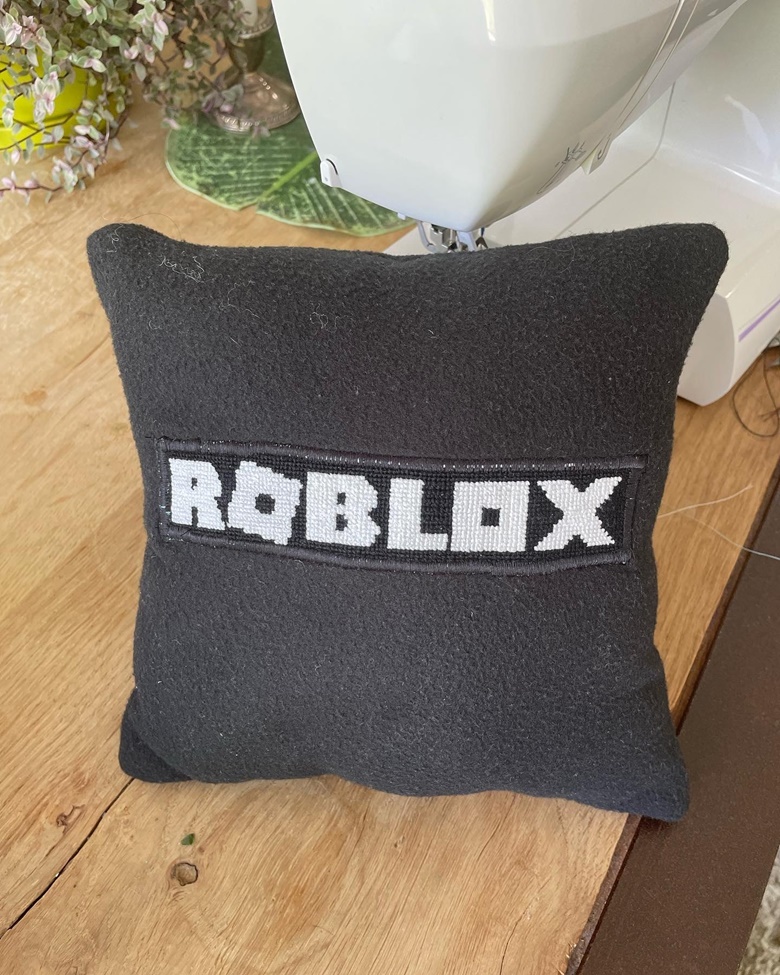
My original thought was to punch needle the logo side so it would be soft, but I didn’t actually have the appropriate fabric, and what I had that I thought would work did not. In the end, I ran up to JoAnns, bought an 8th yard each of black and white fleece, and appliqued it together using my sewing machine on the zigzag setting on the shortest stitch length.

I was also originally going to cross-stitch the entire back and line it with the fleece, but I messed up the colors (don’t color match after dark, friends) and had to start over when I was almost done with the lettering, so I abandoned that idea as well and just did enough of a border to be able to also applique that piece to the black felt.

Sewed everything together inside out, turned it right way around, stuffed it with pillow fluff and the scrap threads, and managed to give it to him the day after his birthday. Bonus points, it turned out the exact perfect size for the little dog’s head, so he lays on it every time he hops on the bed and it is adorable.
Quick DIY Spider Costume

Halloween is five days away. If you still need a costume for yourself or a little one, here is my formula for a quick, DIY spider costume. Unfortunately, I didn’t take process pictures, but this seriously went so quickly that I didn’t think about it beforehand.

Materials:

  • Correctly sized T-shirt
  • Long-sleeved shirt that is two-three sizes larger
  • Socks the length of your arms
  • Thread
  • Stuffing
  • Felt (optional)
  • Serger (optional)

Instructions

  1. Serge (or hand-stitch) hems of t-shirt and long-sleeved shirt, making sure the inner shirt is against the right side of the outer shirt. I did right sides together, so the inside of the costume is the outside of the t-shirt. It was unintentional, but it works well if you have shirts with tags to sandwich the tags.
  2. Flip the shirts so the long-sleeved one is on the inside, and whip-stitch the two together at shoulder and under-arm to hold in place.
  3. Stuff between the shirts to create a puffy middle. Hand-stitch the collars of the shirts together, stretching the smaller collar to match the size of the larger collar.
  4. Stuff the socks so they match the length of your arms, or the length you want them to reach. I used a Soffe big boys’ small long-sleeved shirt and Hanes womens’ size 5-9 crew socks and the lengths matched perfectly. If you are making an adult size, you may either need knee-length socks or cut one sock off at the toes and sew it to another sock to get the right length.
  5. Hand-stitch the socks to the sides of the outer shirt, spacing them evenly down the sides.
  6. Take a length of thread, doubled, to connect the arms and tie a knot at the bottom. String through or sew to a small square of felt, or you can sew it to the under side of the bottom sock-arm. Thread it through the first sock, and repeat the process (leaving some space between arms, however much you feel lets it hang appropriately) with the second sock-arm and the underarm seam of the long-sleeve shirt (placing the felt inside the arm if you are using that method). Do this at the middle and end of each side (more places if you are doing a bigger size).
  7. That’s all there is to it. Add some black pants, perhaps a black hat (I’m making one with red felt eyes) and you are a spider.

The Conclusion of the Bob’s Burgers Cross Stitch Saga

I wrote this last night. I sincerely tried to get it posted, but the Internet was hiding from the computers in our house between 4 and after 10:30 last night. So here it is, only a day late. As seems to be the case with everything associated with this project.

It feels like this project is haunting me. Currently typing this without Internet, almost like the ghost of projects past cut the Internet cable. Or, more likely, someone skidded on the slightly damp California road after this afternoon’s drizzle and smashed the transformer. Yeah, probably the latter.

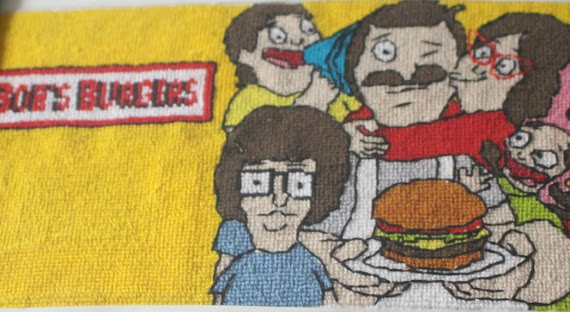
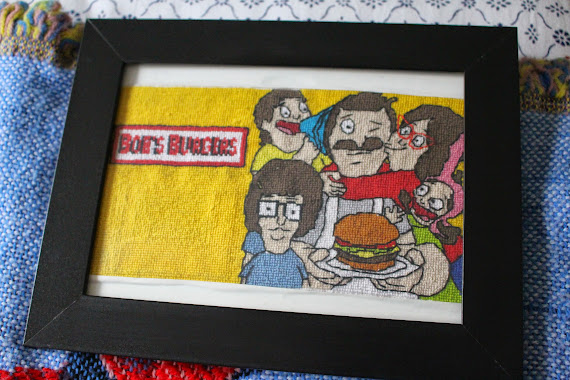
Anyway, the Bob’s Burgers project. This is the first cross-stitch project I’ve ever “charted” on my own. Basically I just laid a grid over it and marked each box off as I went to keep track of where I was in the process. And I really need to keep track of where I was. I started the stitching on March 23 and finally finished on May 10. That means I spent over a month and a half on this project, but I was only a week late in mailing it.

It turned out pretty nicely, I think. Sure, a bit of the line work is wonky, but you have to remember that by the time I got around to that part I had drawn lines through most of the chart, so it was partially guessing. And for that I think it came out great. Also, considering it is probably just going to get tossed by the recipient to reuse the frame, I probably put way too much effort into it. But, as I told my mom, who cares if he likes it, I mainly made it for the Internet.

You can check out my Tumblr tag for the project for more in-progress photos.