Wrapping Up 2013

It’s completely cliché, but appropriate in this case. That is because I am ending the year with a write-up of my Christmas presents. Ok, not mine (which were approximately 95% coffee-related. I don’t plan on sleeping until 2015 with my new caffeine supply.) but the ones I actually got made.

It never fails, I know Christmas happens at the end of December, yet I always seem to wait until November to start making Christmas presents. I swear one of these years I’m going to start earlier. I make no promises on which year that will be, but one of these years I’m going to do it.

Anyway, on to the presents I managed to finish in the month between Thanksgiving and Christmas. First up I finished a shawl for one of my grandmothers:
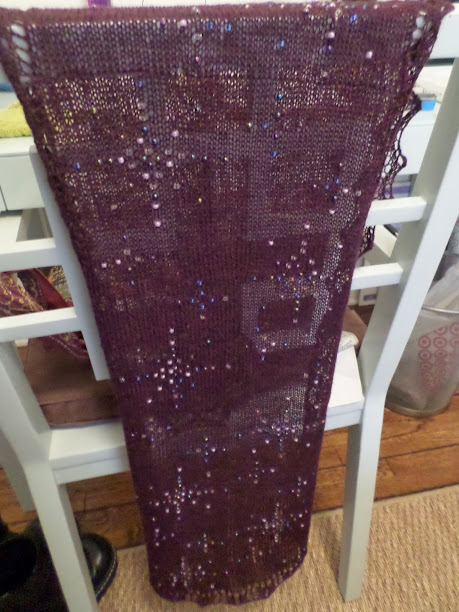
This is also the thing I took the most pictures of:
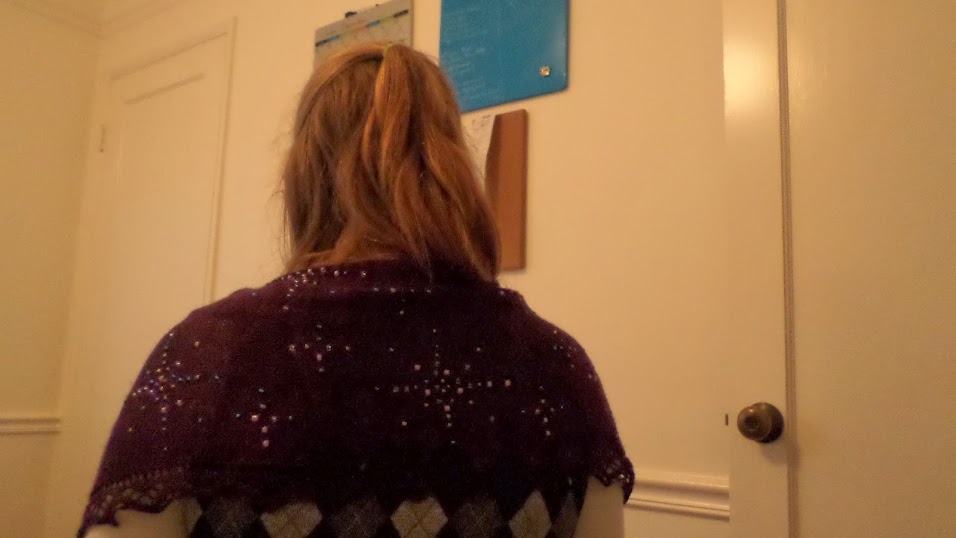
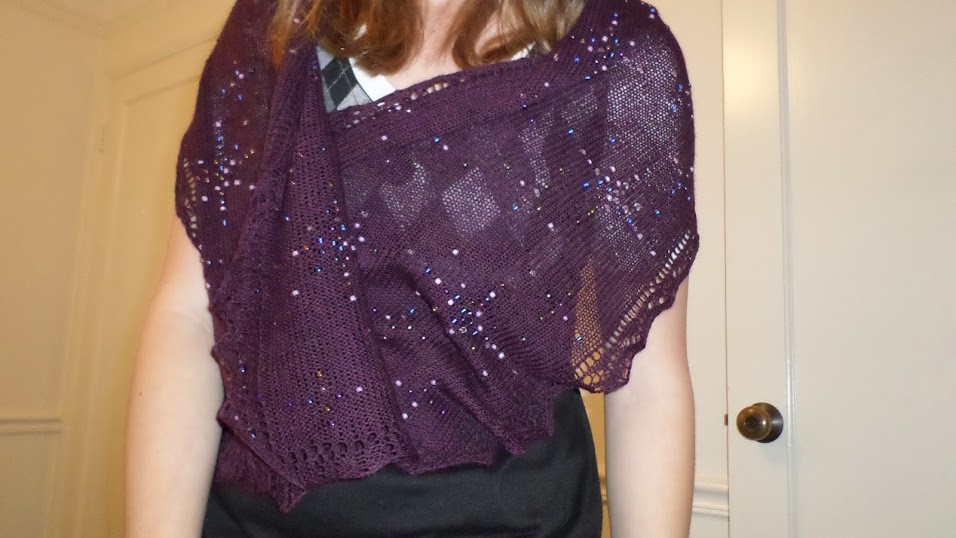
Thanks to the remote viewfinder app for my camera, I can be my own model:
Next up is a warm little set for a friend, a basket weave hat
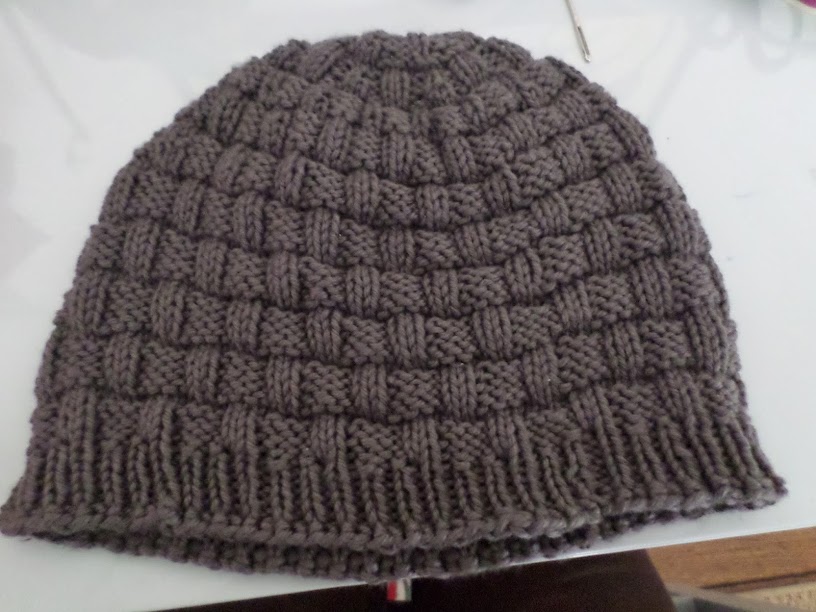
and a pair of fingerless mitts.
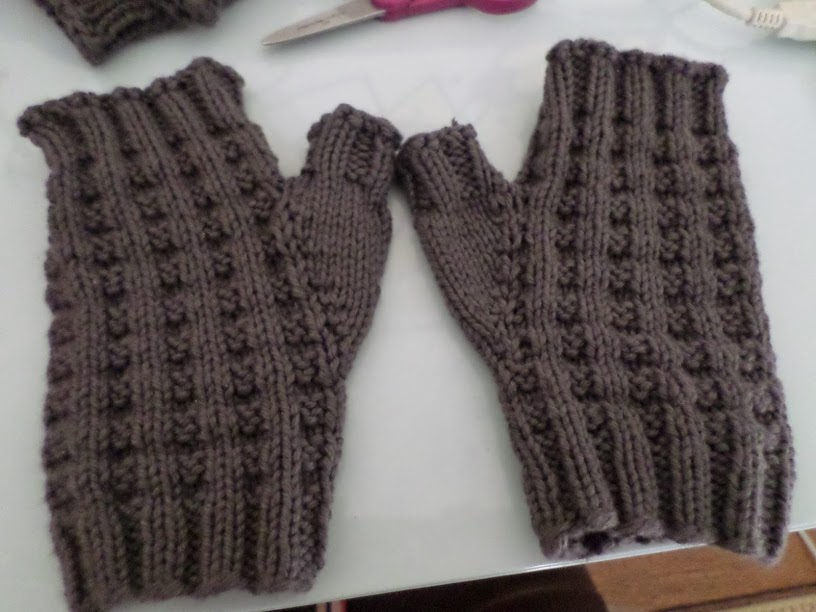
Here’s how they look on the hand (well, one hand, anyway):
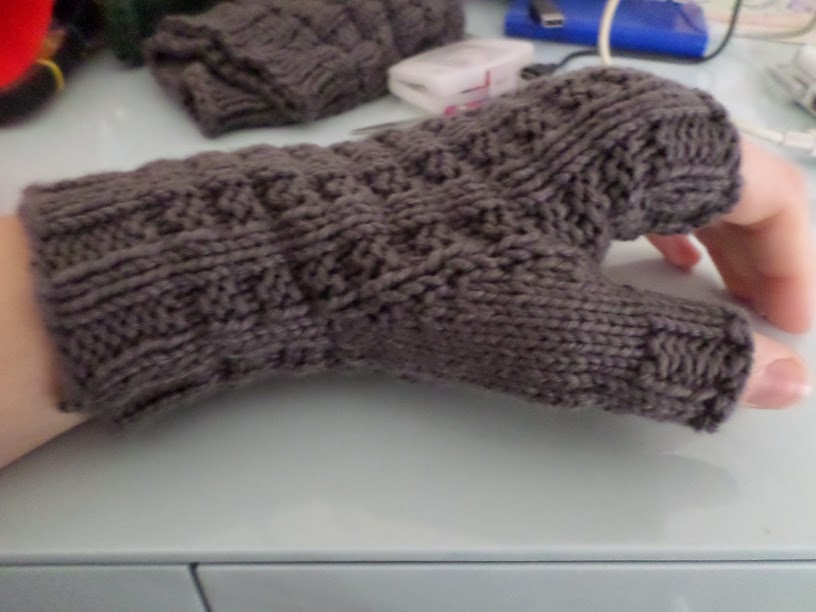
Next up is a cross-stitched iPhone cover for another friend:
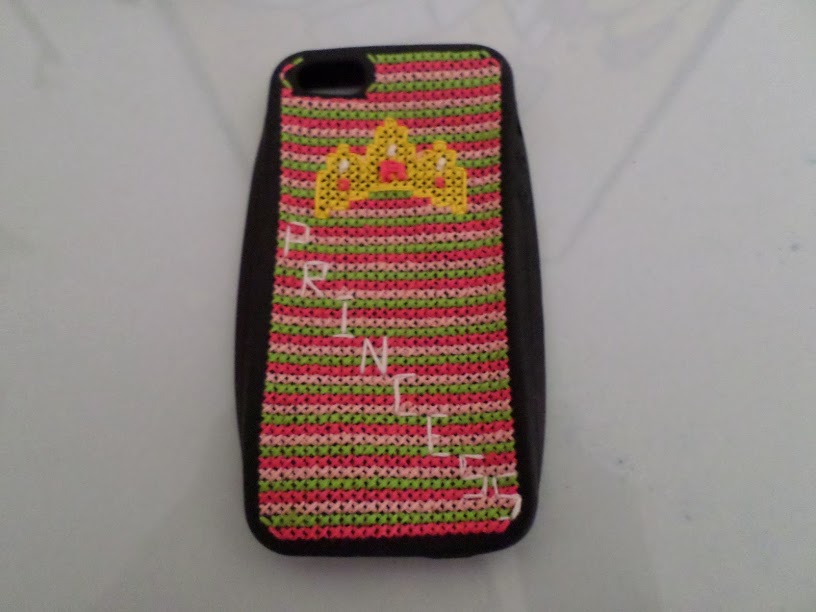
Unfortunately, the edges flared out and it became kind of misshapen as you can see in the picture.

Last we have what I’m calling the “Meta Coffee Cup Cozy”

because it is a picture of a coffee mug to go around a morning coffee.

I also gave my other grandmother her half-made scarf with the needle cable still through it and capped at the ends. But I obviously had to take that one back because I am still finishing it. Not bad for starting way too close to Christmas to actually get anything done. Maybe 2014 will be the year I don’t procrastinate on Christmas gifts…

(P.S. – Click on the name of the knitted gifts to go to the Ravelry project page for more information on the item.)
DIY Friday: Replacing Buttons

To some, it may be a simple concept to replace buttons on bedding or clothes when they break or fall off. Others will use the item until all buttons are gone, and still others will pass on an item when it’s lost even one button. This afternoon I replaced all 12 buttons (some broken, some still fine, and some completely non-existent) on the bottom of the duvet cover on my bed. I could have just replaced the four missing buttons and waited until the rest of the buttons fall off, but I decided it would be better to have all the buttons matching.

Because it’s how I spent my afternoon and I want to get a little more practice at writing tutorials like this, I’m going to show you my method for replacing buttons.

First, you have to remove the old, broken, button. Simplest way is just to cut the string right between the button and the fabric.

Next, thread a needle and tie a knot in the end of the thread. Then place the button where you want it to go and bring the needle up from behind through one hole of the button.

Go down through the diagonal hole, then back up and down through the remaining two holes in the same manner (If you only have two holes, just continue in a circle between the two holes).

If the old button pulled through the fabric and left a hole, it may be helpful to put the needle back through the knot to secure the button the first time going to the back of the fabric.

Once you’ve gone through each of the holes three to four times, tie a knot at the back and you are finished.

Hopefully this is helpful. Let me know if anything is unclear. Also, what do you repair instead of giving or throwing away that others might just get rid of?

Bonus tip: Make sure you have fairly sturdy needles before sewing. It’s never a good thing to break a needle while you are hand sewing.

In fact, that was the first time I have ever broken a needle that wasn’t attached to a sewing machine.

Snug and Cozy

Well, my camera is anyway. It is way too warm still to be thinking of snug and cozy for anything else.

Speaking of my camera, I have a new one that takes awesome pictures and doesn’t run on a pack of AA batteries a week. This camera, if you happen to be so interested. It was on a good sale last week. I’m not taking a picture of my camera. That is just too weird.

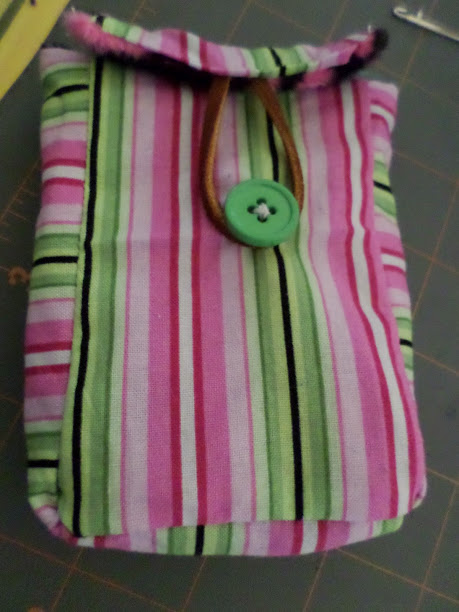
You know what I did take a picture of? The cover I made for my camera. A few pictures, actually. Like this one of the front:

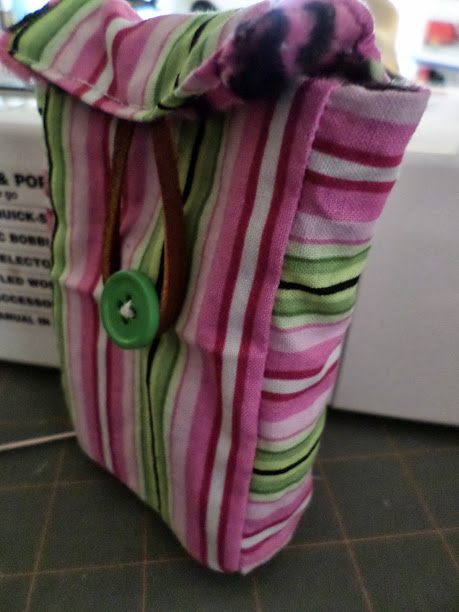
And this one from the side:

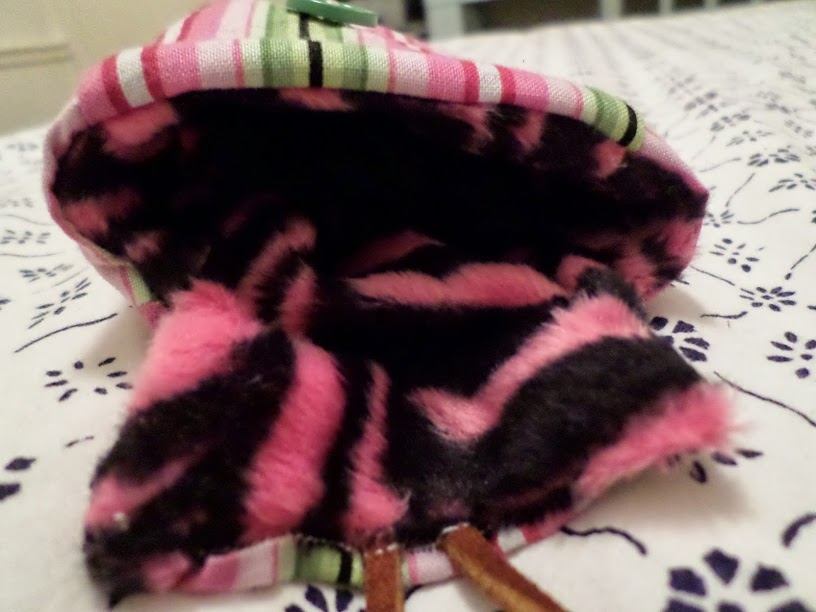
And this one of the soft inside:

I used a plain cotton for the outer part, and some faux fur on the inside to make it nice and cushioned. I added a button and some suede thread for a looped closure. The way the flap covers the top, I can use the wrist strap of the camera to carry it in the case. A quick and easy way to have a camera case that didn’t cost anything and is much brighter than the cases offered at the store.