The Dark Side Has Cake

TO round out these posts abour June that have dragged on into mid-July, I brought cake. Well, pictures of cake. The actual cake has been gone for weeks.

It’s Lord Vader, and he was delicious. I used this pan by Wilton to bake a chocolate cake, then covered it with black frosting according to the instructions included along with the pan. By the way, it took a whole canister of black frosting coloring to make it even this dark.

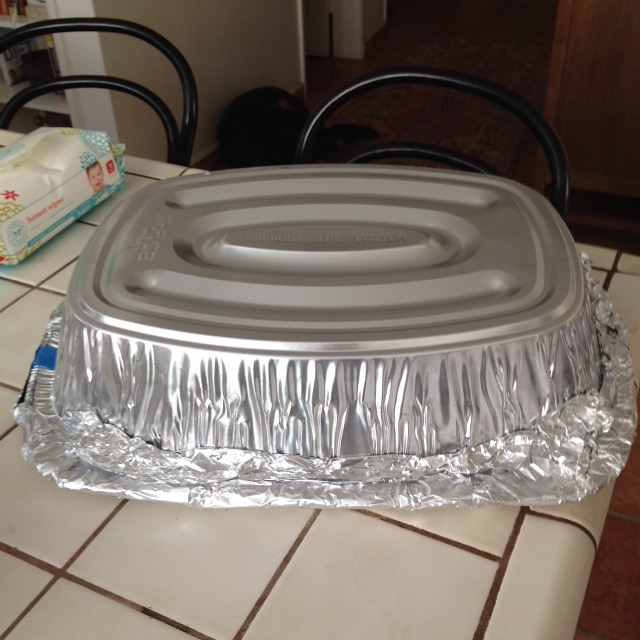
And, of course, I forgot to get a cake box. Because I never write a list for the store. But I learned that it is actually quite easy to fashion one from a turkey roasting pan and a cookie rack. Just remember to tape the cake plate in place first.

These Cookies Are Popping

Pops are the “treat of the moment” lately. Cake, brownies, krispie treats, basically anything you can shove a stick into and cover in chocolate is being turned into cute treats. Including Oreos:

When this Nerdy Nummies episode came across my instagram feed, I immediately forwarded it to one of the birthday boys’ mamas. If you can remember, he’s obsessed with Baymax. So I thought those would be perfect for treats for his party.

He’s also obsessed with Pokémon, so I thought I’d try to make a few of those. I figured out how to turn Baymax into Pikachu and made a Pokémon ball to make four different characters.

One thing I changed from the tutorial was using popsicle sticks (well, all I could find was tongue depressors, but same concept) instead of the lollipop sticks. That’s because I was using regular not-Oreos that don’t come in the triple-stuffed variety. I think they might even work better in the triple-stuffed version.

I also forgot to get styrofoam for drying, so I taped two cake boards together with plastic dixie cups between them for height. I cut slots for the sticks with a steak knife, then made it the right size by shoving a popsicle stick into each.

These were super easy to make, and they taste really good. They were a hit at the party (and with my mom, who ate all of the test ones I made at her house).

Lego My Table

One of the boys with a June Birthday is completely obsessed with Legos. So I knew I wanted to do something Lego-themed for his present. I didn’t just want to get him another set to build, though. The perfect gift came across my feed one day when I saw this on IKEAHackers. Considering my entire room is furnished from IKEA, I figured it wouldn’t be too difficult to make a simpler version.

Truthfully, the most difficult part was probably deciding how I wanted to glue everything down. We used Legos to hold the plates together (I found these plates on Amazon) before gluing them in place with rubber cement.

Altogether, the whole project cost around $30. Much better than the alternatives I found at Toys ‘R’ Us for about $100 more. Not counting drying time (or searching for the table in IKEA), it took around thirty minutes to finish this. Best to have at least two sets of hands, though. Even with the Legos holding them together, the four plates can get a little unruly.