Quick DIY: Neon Chalk Sign

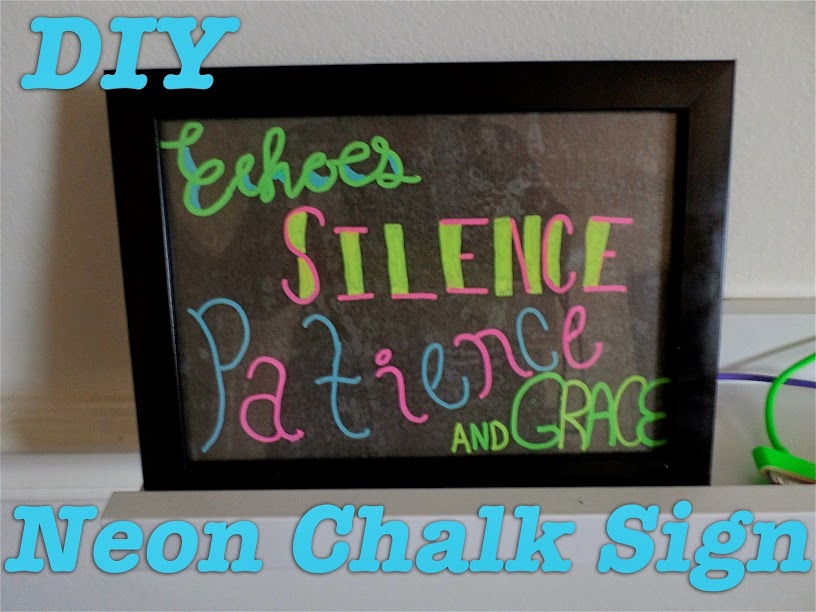
I bought some chalk markers the other day, these chalk markers to be exact, and immediately I knew I had to make some decoration with them. After livening up my “To Do” board with the nice, fluorescent colors, I knew I wanted to make something a little more “permanent.

The perfect idea came to me as we were shopping in Target. I got a frame and decided to make my own “neon” sign. It’s so easy and took me only about half an hour including sketching out how I wanted it to look.
What You’ll Need:

  • Chalk Markers
  • Ruler
  • Scissors
  • Black (or Dark) Paper
  • Pencil
  • Eraser
  • Marker (with similar sized tip as chalk marker)
  • Library/Credit/Store Loyalty Card

Not Pictured:

  • Picture Frame with Glass plate (I used this one from Target)
  • Scrap White Paper
  • Tracing Paper
  • Clear Contact Paper

How to do it:

  1. Start by deciding on your phrase and sketch out how you want the words to look. I started with regular printer paper and writing the words as large as I wanted to see which style of typeface would work for the effect I wanted. I used the title of my favorite Foo Fighters album because it’s also just a phrase I find stuck in my head regularly.
  2. Once you have your styles chosen, remove the backing and front plate from your frame and trace inside the actual opening of the frame so you have the boundaries of what will be visible inside the frame. This way you know exactly how much space you have to work with.
  3. Lay out your phrase the way you want it to look inside the frame. This may take a few tries, so I would suggest to trace yourself a few spaces to use.
  4. Once you have it looking the way you want it, trace it onto the tracing paper using your regular marker. Make sure you also trace at least the corners of the bounding box to match up with the glass.
  5. Now you want to clean the glass with a damp paper towel and dry it really well with a dry one. You want to be sure there are no finger prints and you want to be sure there aren’t water streaks that will cause the colors to run.
  6. Flip your tracing paper over so the words are backwards and lay the glass over it so the words are where they should be.
  7. Now trace everything with your chalk markers. You want to make sure everything looks the way you want it to. Make sure it has a few minutes to fully dry, as well.
  8. Take a piece of clear contact paper that has at least a few inches on two sides to hold onto and place it flat over the glass. Take whatever type of plastic card you have on hand and smooth out any bubbles that may have occurred.
  9. Cut your black or dark paper to fit inside the frame and reassemble the frame with your glass, the paper, and the backing. You are finished!

Now you have a nice, bright sign to decorate your space. If you ever decide you want it to say something different, just remove the contact paper, wash the marker off, and start over.

Mine is now adding some much needed color and decoration to the shelf I added to my wall as a charging shelf. It was very bare during the day when I had nothing charging.

Yummy DIY: Rugrats Bouncy Ball Cookies

After watching this Nerdy Nummies episode, I have been determined to make Lego Piñata cookies.

Unfortunately, I’ve been having a ridiculous time trying to find rectangular shaped cookie cutters. They were completely sold out at Michael’s this morning, so I finally just let the baby decide what shape our cookies were going to be and what shape we should put on top. He picked circles for the main cookie and stars for the topper, so what popped into my mind was Tommy’s bouncy ball:

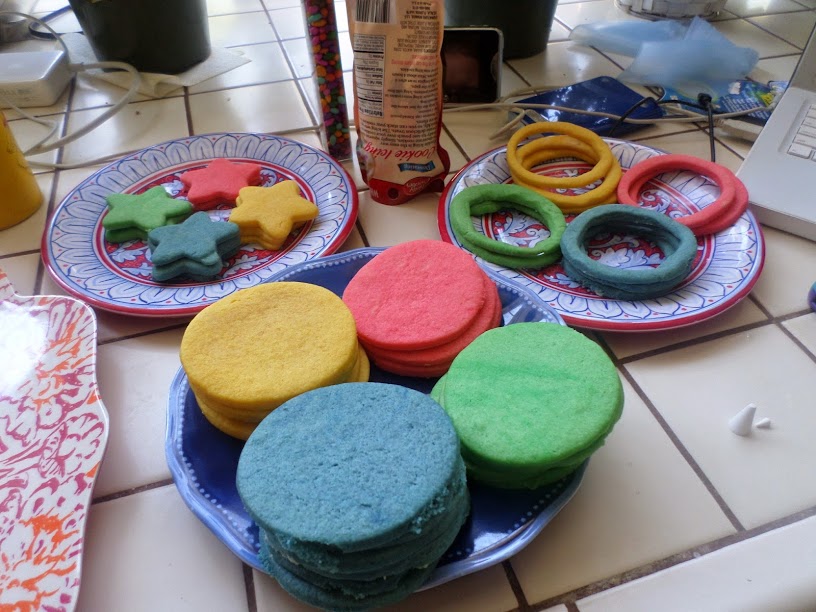
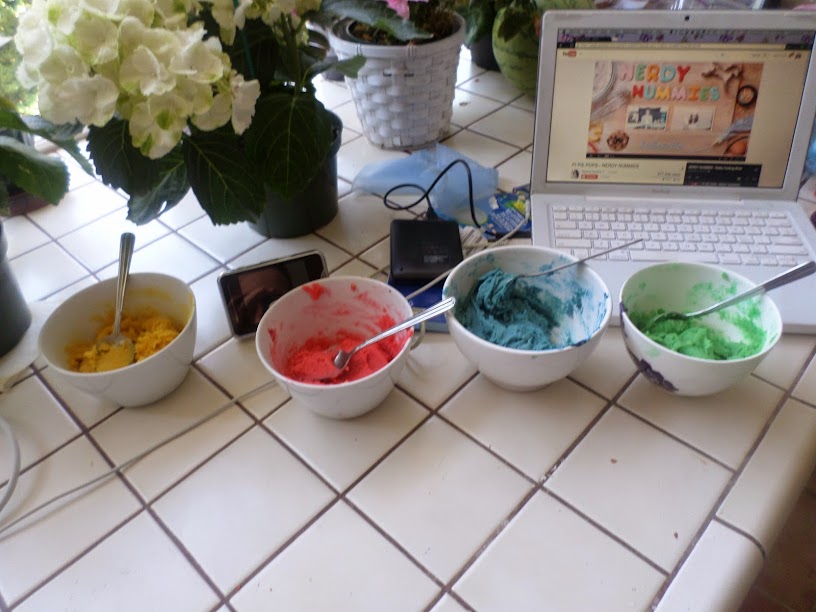
I still made all four colors of the cookies:

(See, I’m even watching the Nerdy Nummies playlist in the background.)

And I set the out in groups so I could alternate the colors.

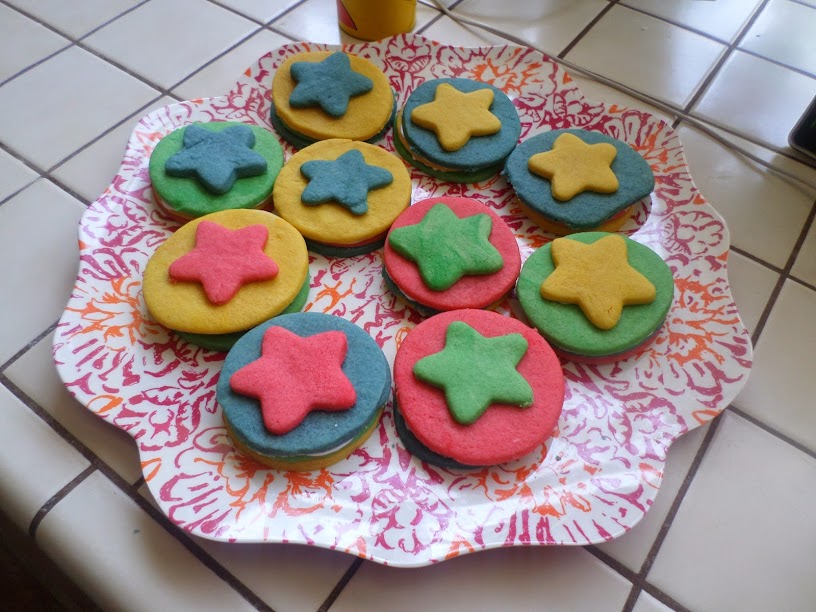
Unlike the original ball, I tried not to repeat any colors in each cookie. Due to my inability to divide the dough correctly, I ended up with three cookies worth of blue and yellow, but only two cookies worth of red and green. So some colors got repeated.

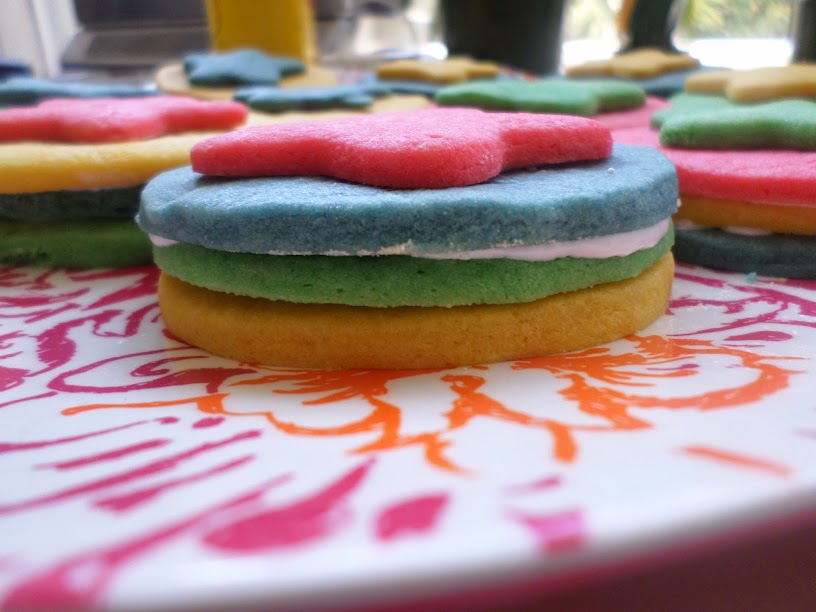
The filling suggested in the video is mini M&Ms, but we found candy covered sunflower seeds to go in the centers of these instead. I just didn’t take any pictures of that part.

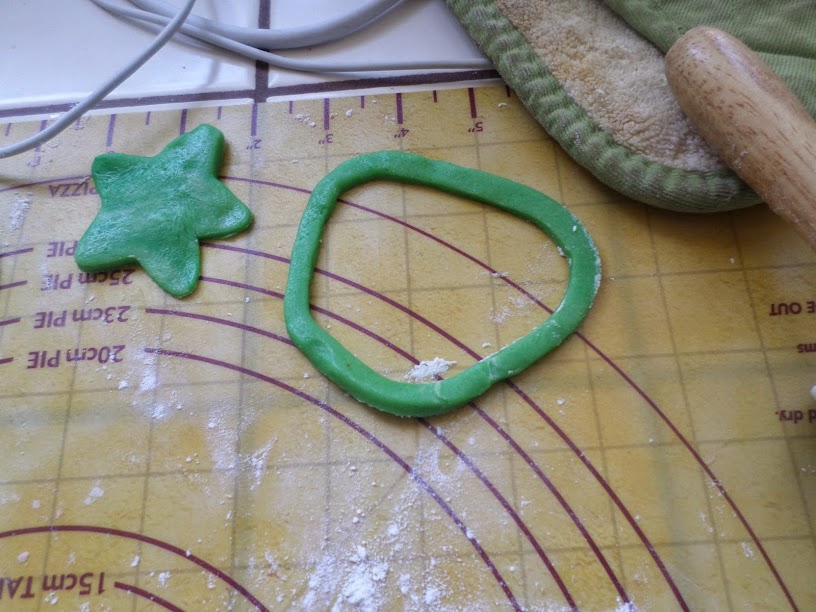
The two cookie cutters I used to make the center cookies were really close in size, so the center rings were a bit flimsy:

(Hey, is that the O from the Nickel-O-Zone? Anyone else even remember that? Just me? Yeah, pretty sure that’s just me.)

To fix them a bit, I put the cookie cutter onto the baking sheet and sort of pressed the O back into the right shape so it would fit well in the middle.

I don’t know that any of the kids I’m feeding these cookies to would get the reference if I explained it to them, but I’m sure there have to be at least a few people out there who still get it. 🙂

Quick DIY: Mini Heart Pillows

One would think it would be impossible to forget a holiday that is advertised everywhere for the month and a half leading up to it, but one would be wrong. That is how I found myself desperately making four Valentine’s at 8:00pm Thursday night. At first I attempted to knit some little heart pillows. I found the perfect tutorial and had set about on the knitting, when I looked at the clock, realized it was 9:00pm now, and saw that I was only about a quarter of the way through Valentine #1.

Change of plans, and quick. I don’t have much in the way of craft supplies just lying around. Sure, I could draw up some cards in no time, but these are for little people who are pre-reading and would really rather have something tangible. So I dug through my meager closet stash and found a piece of purple, a piece of yellow, and a large piece of green felt in my “leftovers” basket.

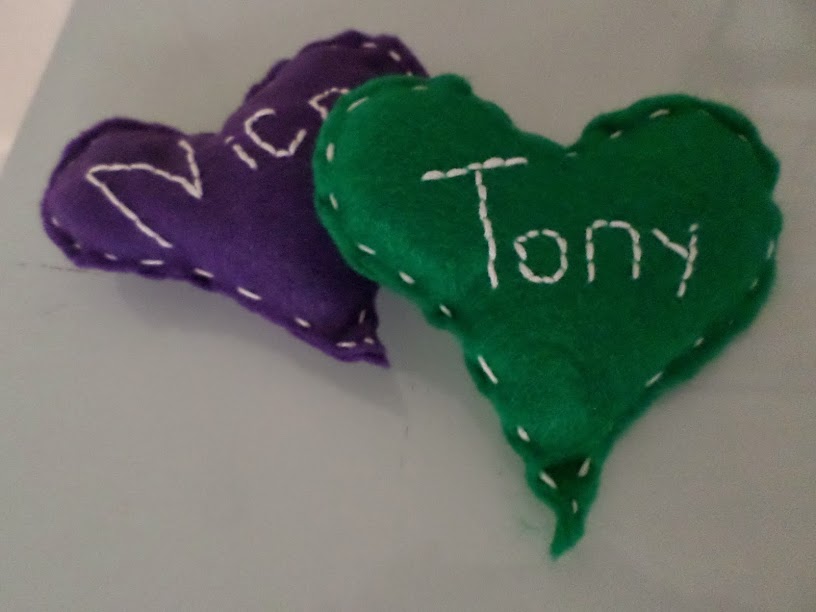
With just the felt, a pair of scissors, some embroidery thread, and a minuscule amount of supplemental yarn to add to the padding, I managed to whip up some cute little love pillows.

Mini Heart Pillow DIY

Materials

  • Colored Craft Felt
  • Scissors
  • Embroidery Thread
  • Stuffing (can use fiber fill, left-over fabric/yarn, basically whatever you have on hand to fill the pillow with)

Instructions

  1. Cut two matching heart shapes from the felt. This can either be done with a template you create on paper or, my favorite method, by folding the felt in half while cutting to keep the hearts as close to each other in shape as possible.
  2. Using all six strands of embroidery thread (to make it stand out; use less if you want a more subtle effect), back-stitch the name of the recipient or your desired message onto one of the felt hearts. This tutorial from wikiHow can help if you have never done a back-stitch before. Note- I don’t knot my thread, i just leave a bit hanging at the beginning of my work on the wrong side of the fabric.
  3. Holding both hearts wrong sides together, take all six strands of thread and a running stitch around the edges to hold the pieces together. Be sure to stuff it as you go so you aren’t trying to push a whole pillow’s-worth of stuffing through a tiny hole at the end.
  4. Bring the end of your thread through the middle of the pillow, putting the needle in between the felt pieces at the edge and taking it out the same way at the opposite edge and cut the thread close to the pillow.

And that is it. You have a nice little gift to show your love and appreciation of a loved one in a very short amount of time. I think each of these took me around ten minutes from start to finish. It may take you more or less time depending on how proficient you are at sewing and embroidery, of course.

What kinds of gifts did you give for Valentine’s day?