Spinning Quite a Yarn

I was super excited when Lauren McElroy’s Crafter’s Box collaboration was announced. I love her Instagram content and have always been interested in learning to use a drop spindle, so it was a perfect box to spend some birthday money on.

There was a small bit of a learning curve, as you can see from the progression in that photo, but the video class was so easy to follow. I even started incorporating some color with some roving from Ganxxet.

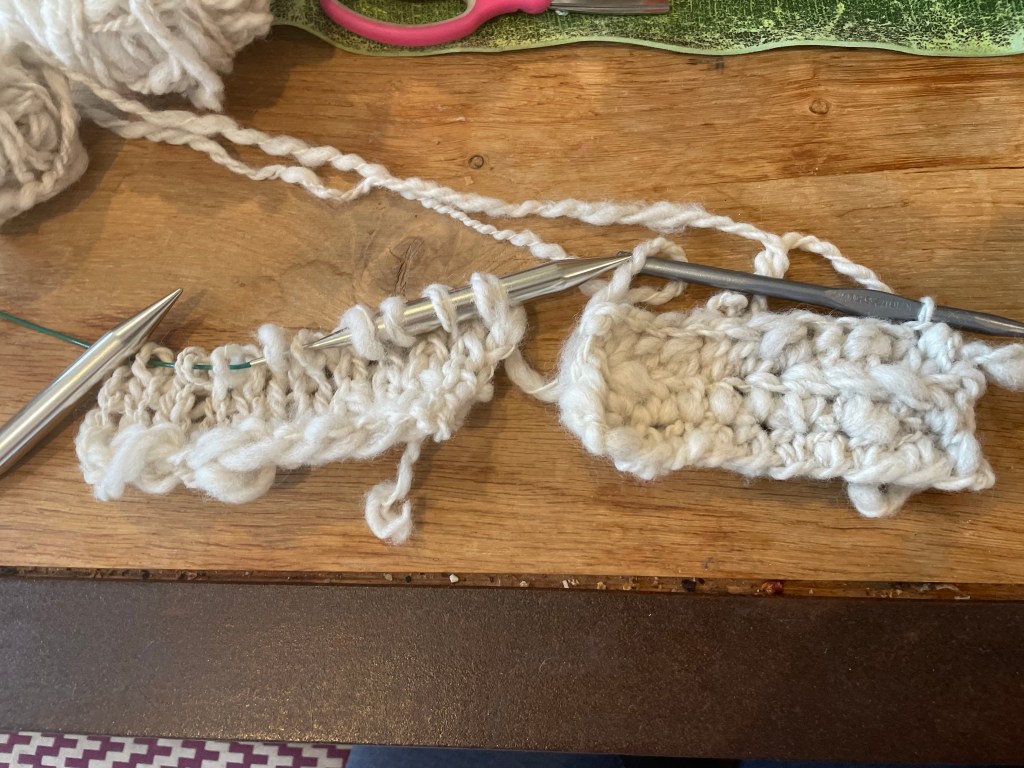
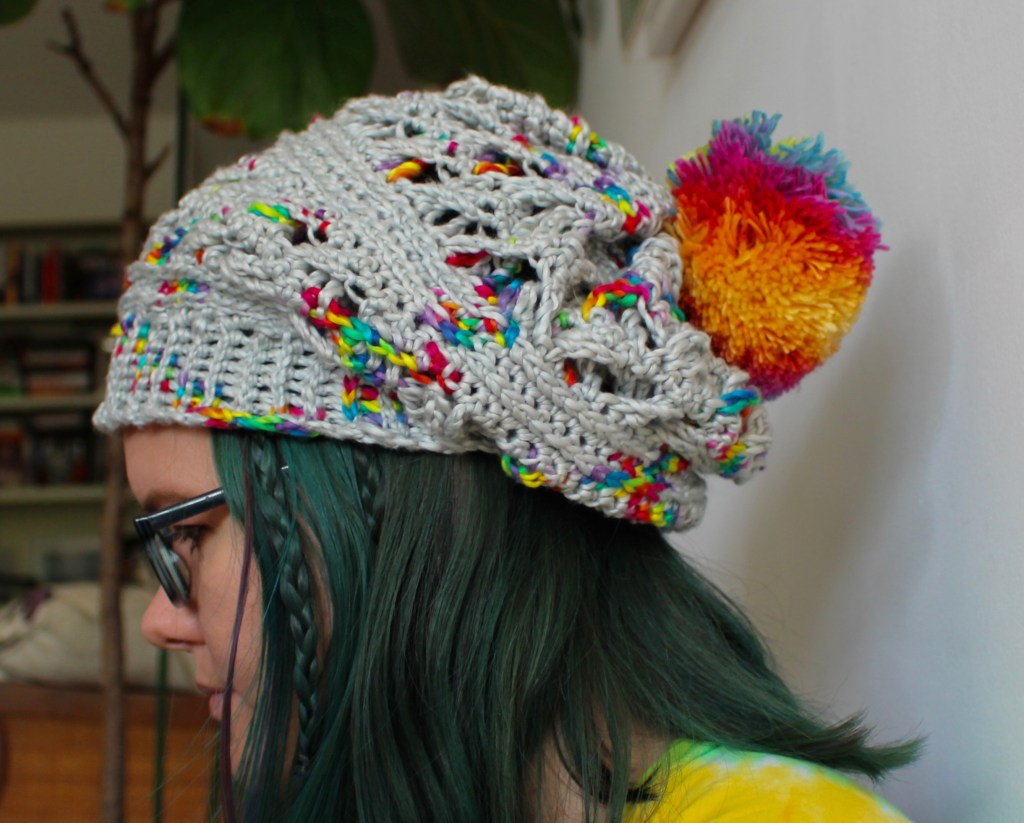
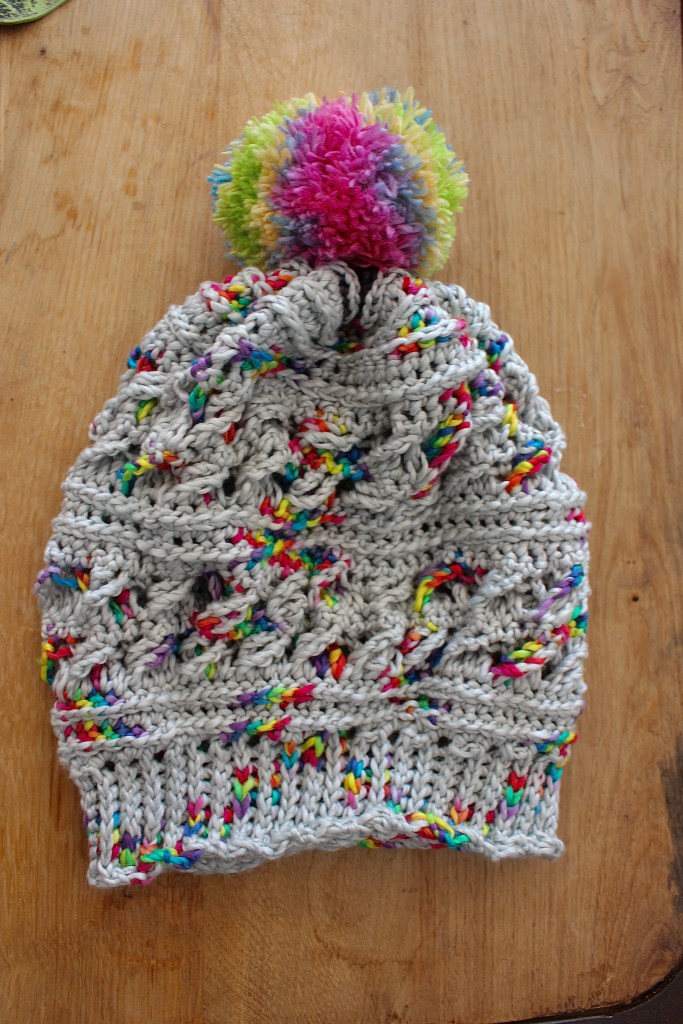
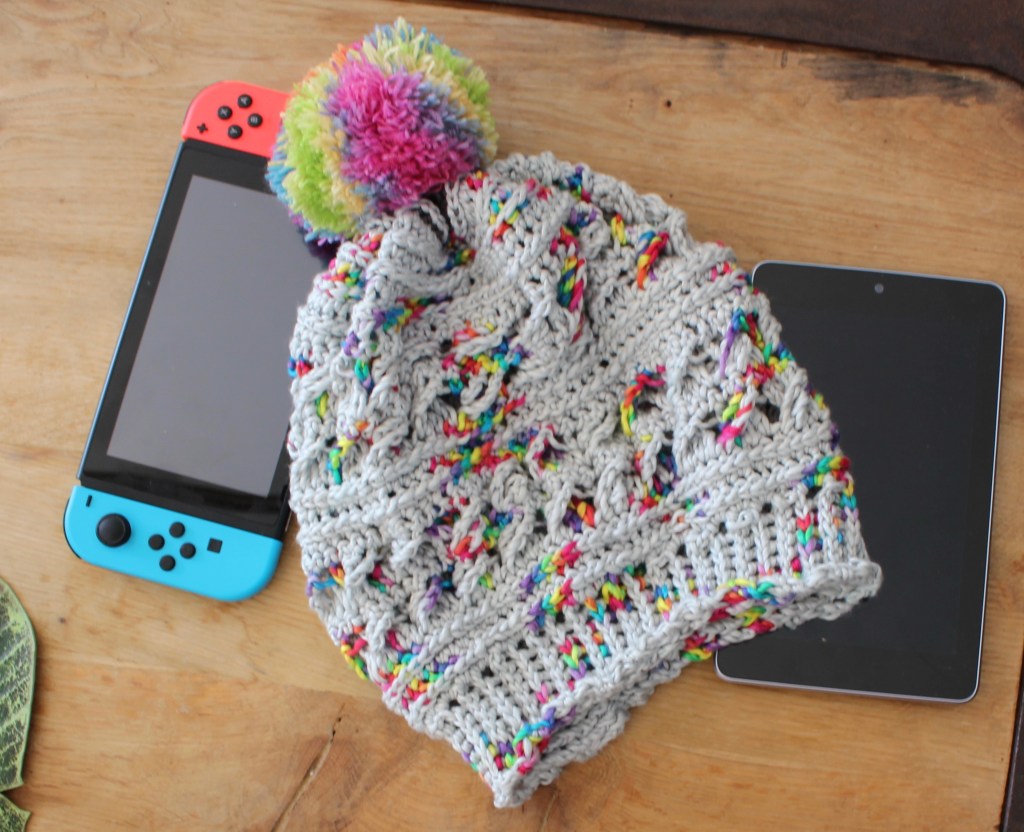
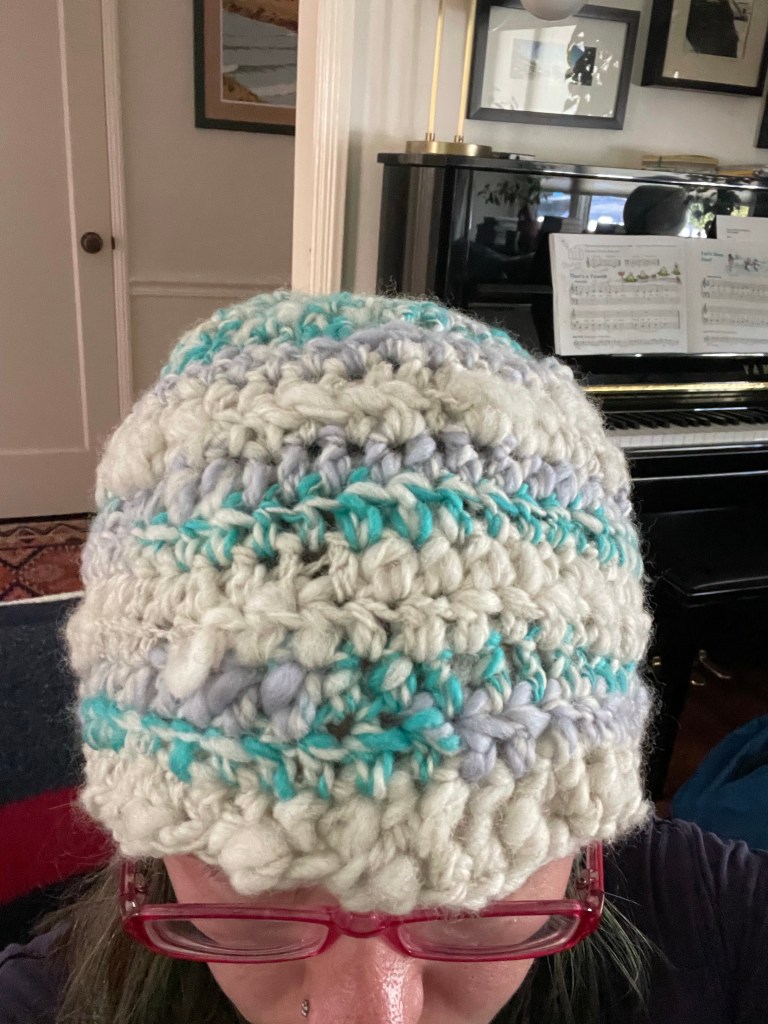
Once I had a good amount of two-ply yarn, I wanted to create a project with it. I swatched a bit in crochet and knitting to decide which looked better. The crochet showed off the variation in the thickness (which we will pretend was intentional), so I started a hat.

The yarns I used were about 4-5 WPI, and I roughly measured the smallest amount to find out that I had about 6.9 yards per 10 grams. This hat used 58 grams of the all-white yarn and 41 grams of the blue/purple/white yarn. Really rough estimates mean that I used around 68.31 yards in total.

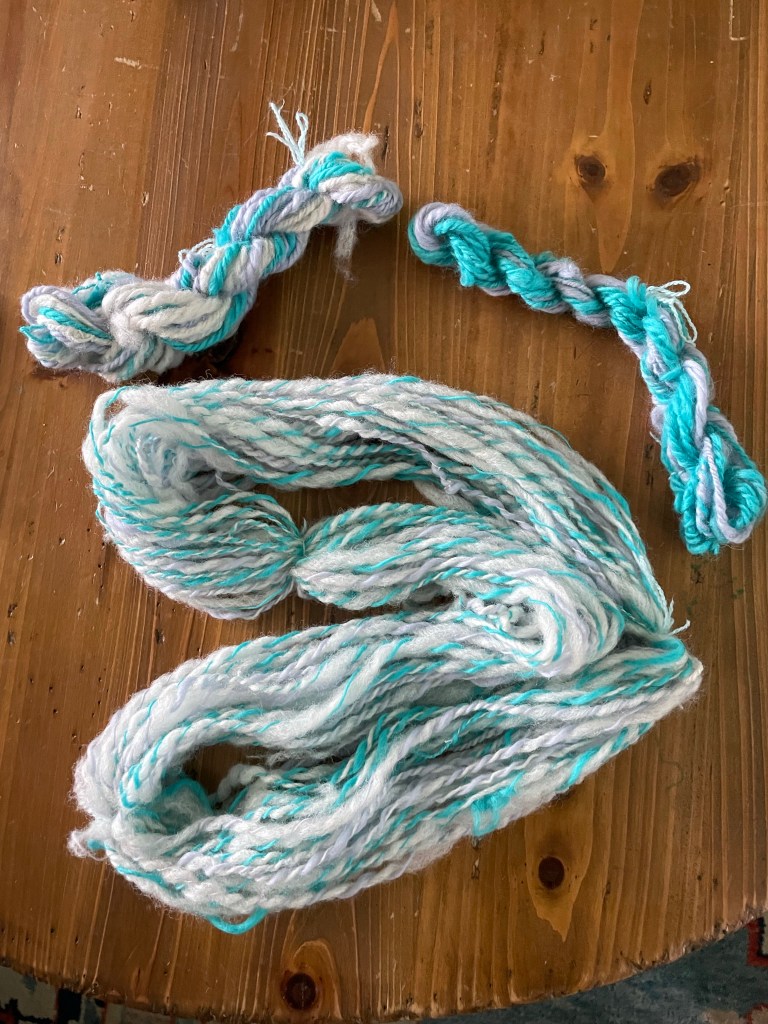
I’ve also started experimenting with chain plying the yarn (the two small skeins in this picture), which is a lot of fun. I don’t have enough of it yet to do much with it, but I’m thinking maybe gloves.

If you are looking to learn drop spindle spinning, I’d definitely recommend this kit. It’s still available through The Crafter’s Box Marketplace, and they have some accessories you can also pick up through the marketplace to create even more yarns.


Find me on Ko-Fi, Instagram, and Ribblr.

Crocheted Cross Stitches

May I present to you the Cross Stitched Beanie! The lovely Ila Quinn of Ila Quinn Designs created this pattern to combine her love of crochet and cross stitch, and it does so beautifully.

I had the pleasure of testing this design before its release, and I created two versions of it. The first is this one in a two-tone pattern in Lion Brand Oh Baby Organic:

And the second is is this one made of the original Cozy Cotton Cloud DK from Fuzzy Whatknots, specifically the Rainbow on a Cloudy Day color:

Pattern specifics: This pattern calls for 200-300 yards of DK weight yarn and a 5.5mm crochet hook. You can also add an optional pom-pom, either yarn or faux fur, if you are so inclined. Obviously I added one to each hat. It is written in four sizes by band measurement, small at 18 inches, medium at 20 inches, large at 22 inches, and extra large at 24 inches. Mine are both the medium size, which gives me negative 2 inches ease.

More specifics on these projects: The pink and blue hat used 65 grams/ 234 yards of Lion Brand Oh Baby Organic in pink and turquoise (not including the pom-pom). The gary and rainbow hat used the full 100 grams/ 218 yards of Cozy Cotton Cloud DK plus 5 grams/ 21.8 yards of Knit Picks Comfy Fingering because I ran out a round and a half before the end. It is easily covered by the pom-pom.

The instructions in the pattern, especially the instructions for the crossed stitches, are very easy to follow and very clear. I would probably suggest an intermediate knowledge of crochet to be able to work the pattern easily. It’s a very quick make, as well. Each hat only took me about 4 hours to finish, and the finished product is very comfy, especially made in the Cotton Cloud.

Go out and support an independent designer today!


Find me on Ko-Fi, Instagram, and Ribblr.

Back to the Sewing Machine

I’ve been working on many, many long-term projects: blankets, a shawl, a cross-stitch portrait, and a cross-stitch stitch along. I needed to do something that I could start and finish in one afternoon.

Two white and gray shirts with long sleeves that have large stripes at the wrists laying on a wooden floor, on on top of the other. The bottom shirt is gray with white sleeves with gray stripes. The top shirt is white at the top half and gray at the bottom half with gray sleeves with white stripes.

When I found out Itch to Stitch had a couple free patterns, I decided to make the Uvita Top. Then, when I got to planning it out on the fabric, I decided to make two because I had enough of both fabrics.

White and gray shirt on a tan cushion.

I knew that I wanted to make stripes on the sleeves, so I pulled two colors of knit fabric out of the drawer. When I realized I had enough of the white, I chose to make one set of sleeves white with gray stripes and one gray with white stripes. I didn’t quite have enough white to do a completely white shirt. So I chose to do an all-around yoke of white on the shirt with gray sleeves.

Gray shirt on tan cushion.

To make the sleeves, I started with squares of each fabric and cut strips starting from the bottom, alternating 3 inches wide and 2 inches wide for two stripes. Then I sewed the stripes and top of the fabric together, first with a single needle zigzag and then sewing the seam down with a double needle into the white sections. Once I had the fabric prepped, I folded it in half and cut out the sleeve pieces.

Detail shot of shirt sleeves at the stripes.

I cut out the shirt body pieces of the shirt from the gray fabric, then cut the paper pattern to make a yoke piece and body piece, laid the yoke on the white fabric and added half an inch of seam allowance to the bottom, and did the reverse to the body piece on the gray fabric (meaning I added the seam allowance to the top).

Detail shot of white and gray shirt where gray and white meet with a double line of stitching in the white portion.

I sewed all the seams with a single needle zigzag stitch and then sewed all the hems with the double needle.

Detail shot of the double line of stitching at the hem of both shirts, stacked on top of each other.

All in all, this pattern was super easy to follow, and super easy to modify with the styling. The end result is super comfortable, and it only took an afternoon to finish.


Find me on Instagram, Etsy, and Twitter.