Home-made gifts are always the best, right? I had a flash of brilliance when the four-year-old went on a field trip to the recording studio. (Side note: Where were these awesome field trips when I was in school? Pretty sure we took the same trip to the zoo on the same day every year as our field trips. With the occasional trip to the botanical gardens thrown in every few years.) He was slightly disappointed because he wouldn’t be able to sing “Rainbow Connection” during the class recording session because it was too long. So I made a mental note to revisit that idea for his mom’s birthday.
I got a lucky break when they went out of town on a surprise trip last week and we had four days to record. But even if you don’t have the equipment (or desire) to record the recipient’s favorite songs, you can still make a mix CD. Yes, I said CD. I know you can just email them a playlist, but isn’t it more fun to give a physical gift? That said, you know your own friends and relatives and you know who will just give you a funny look as if they don’t remember how we purchased music before smartphones.
I’ll leave you on your own for the burning of the CD, since every computer and system and program handles that differently. But I don have a few tips to make it even more personal:
1. Make a paper sleeve.
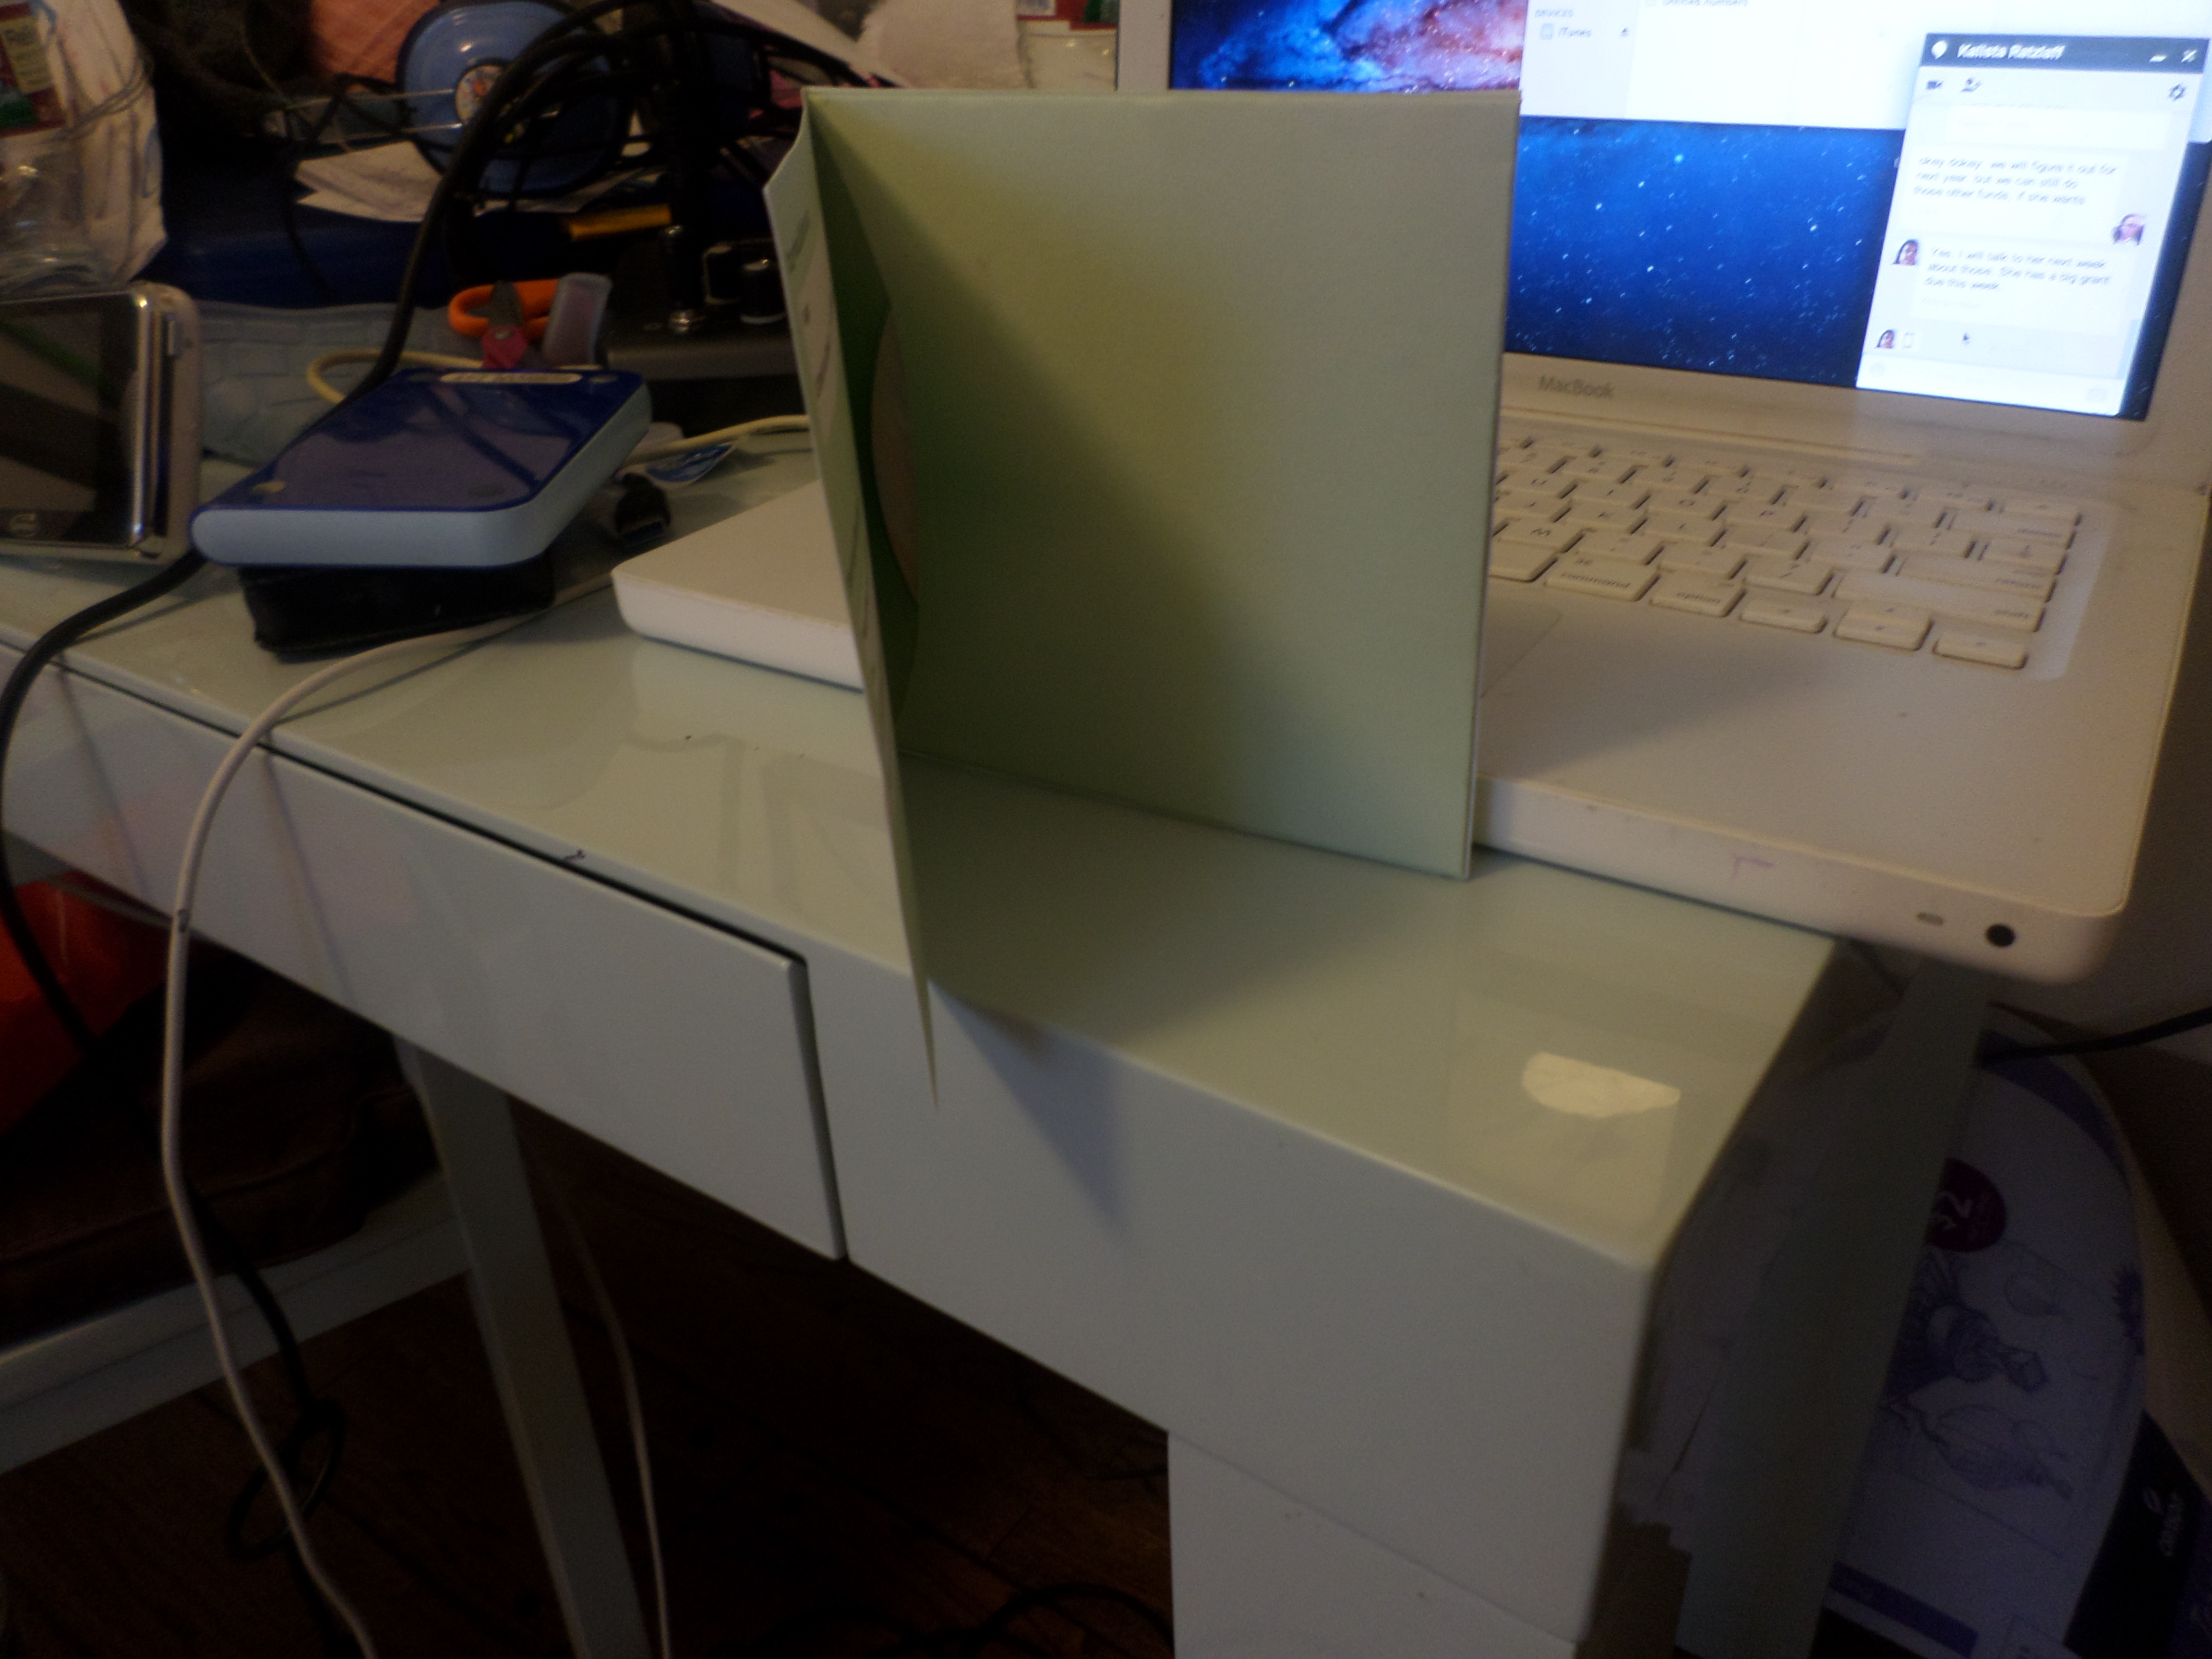
There are all kinds of tutorials for all different kinds of paper sleeves, but I used this one to make a sleeve similar to ones I’ve bought CDs in at the store. That gave me more room to add things like pictures of the kids recording, a track list, “liner notes”, etc. It’s got a space for the CD and a flap that folds over. I used Photoshop to create the case, using the downloads from the tutorial as guidelines. To keep the finished product free of lines, I made the template “layer 1” and just set it to invisible before printing on cardstock, then printed the templates out on plain paper and used them as cutting guides.I also made two of the folded cover, one to be the inside and one to be the outside.
2. Create your own cover art.
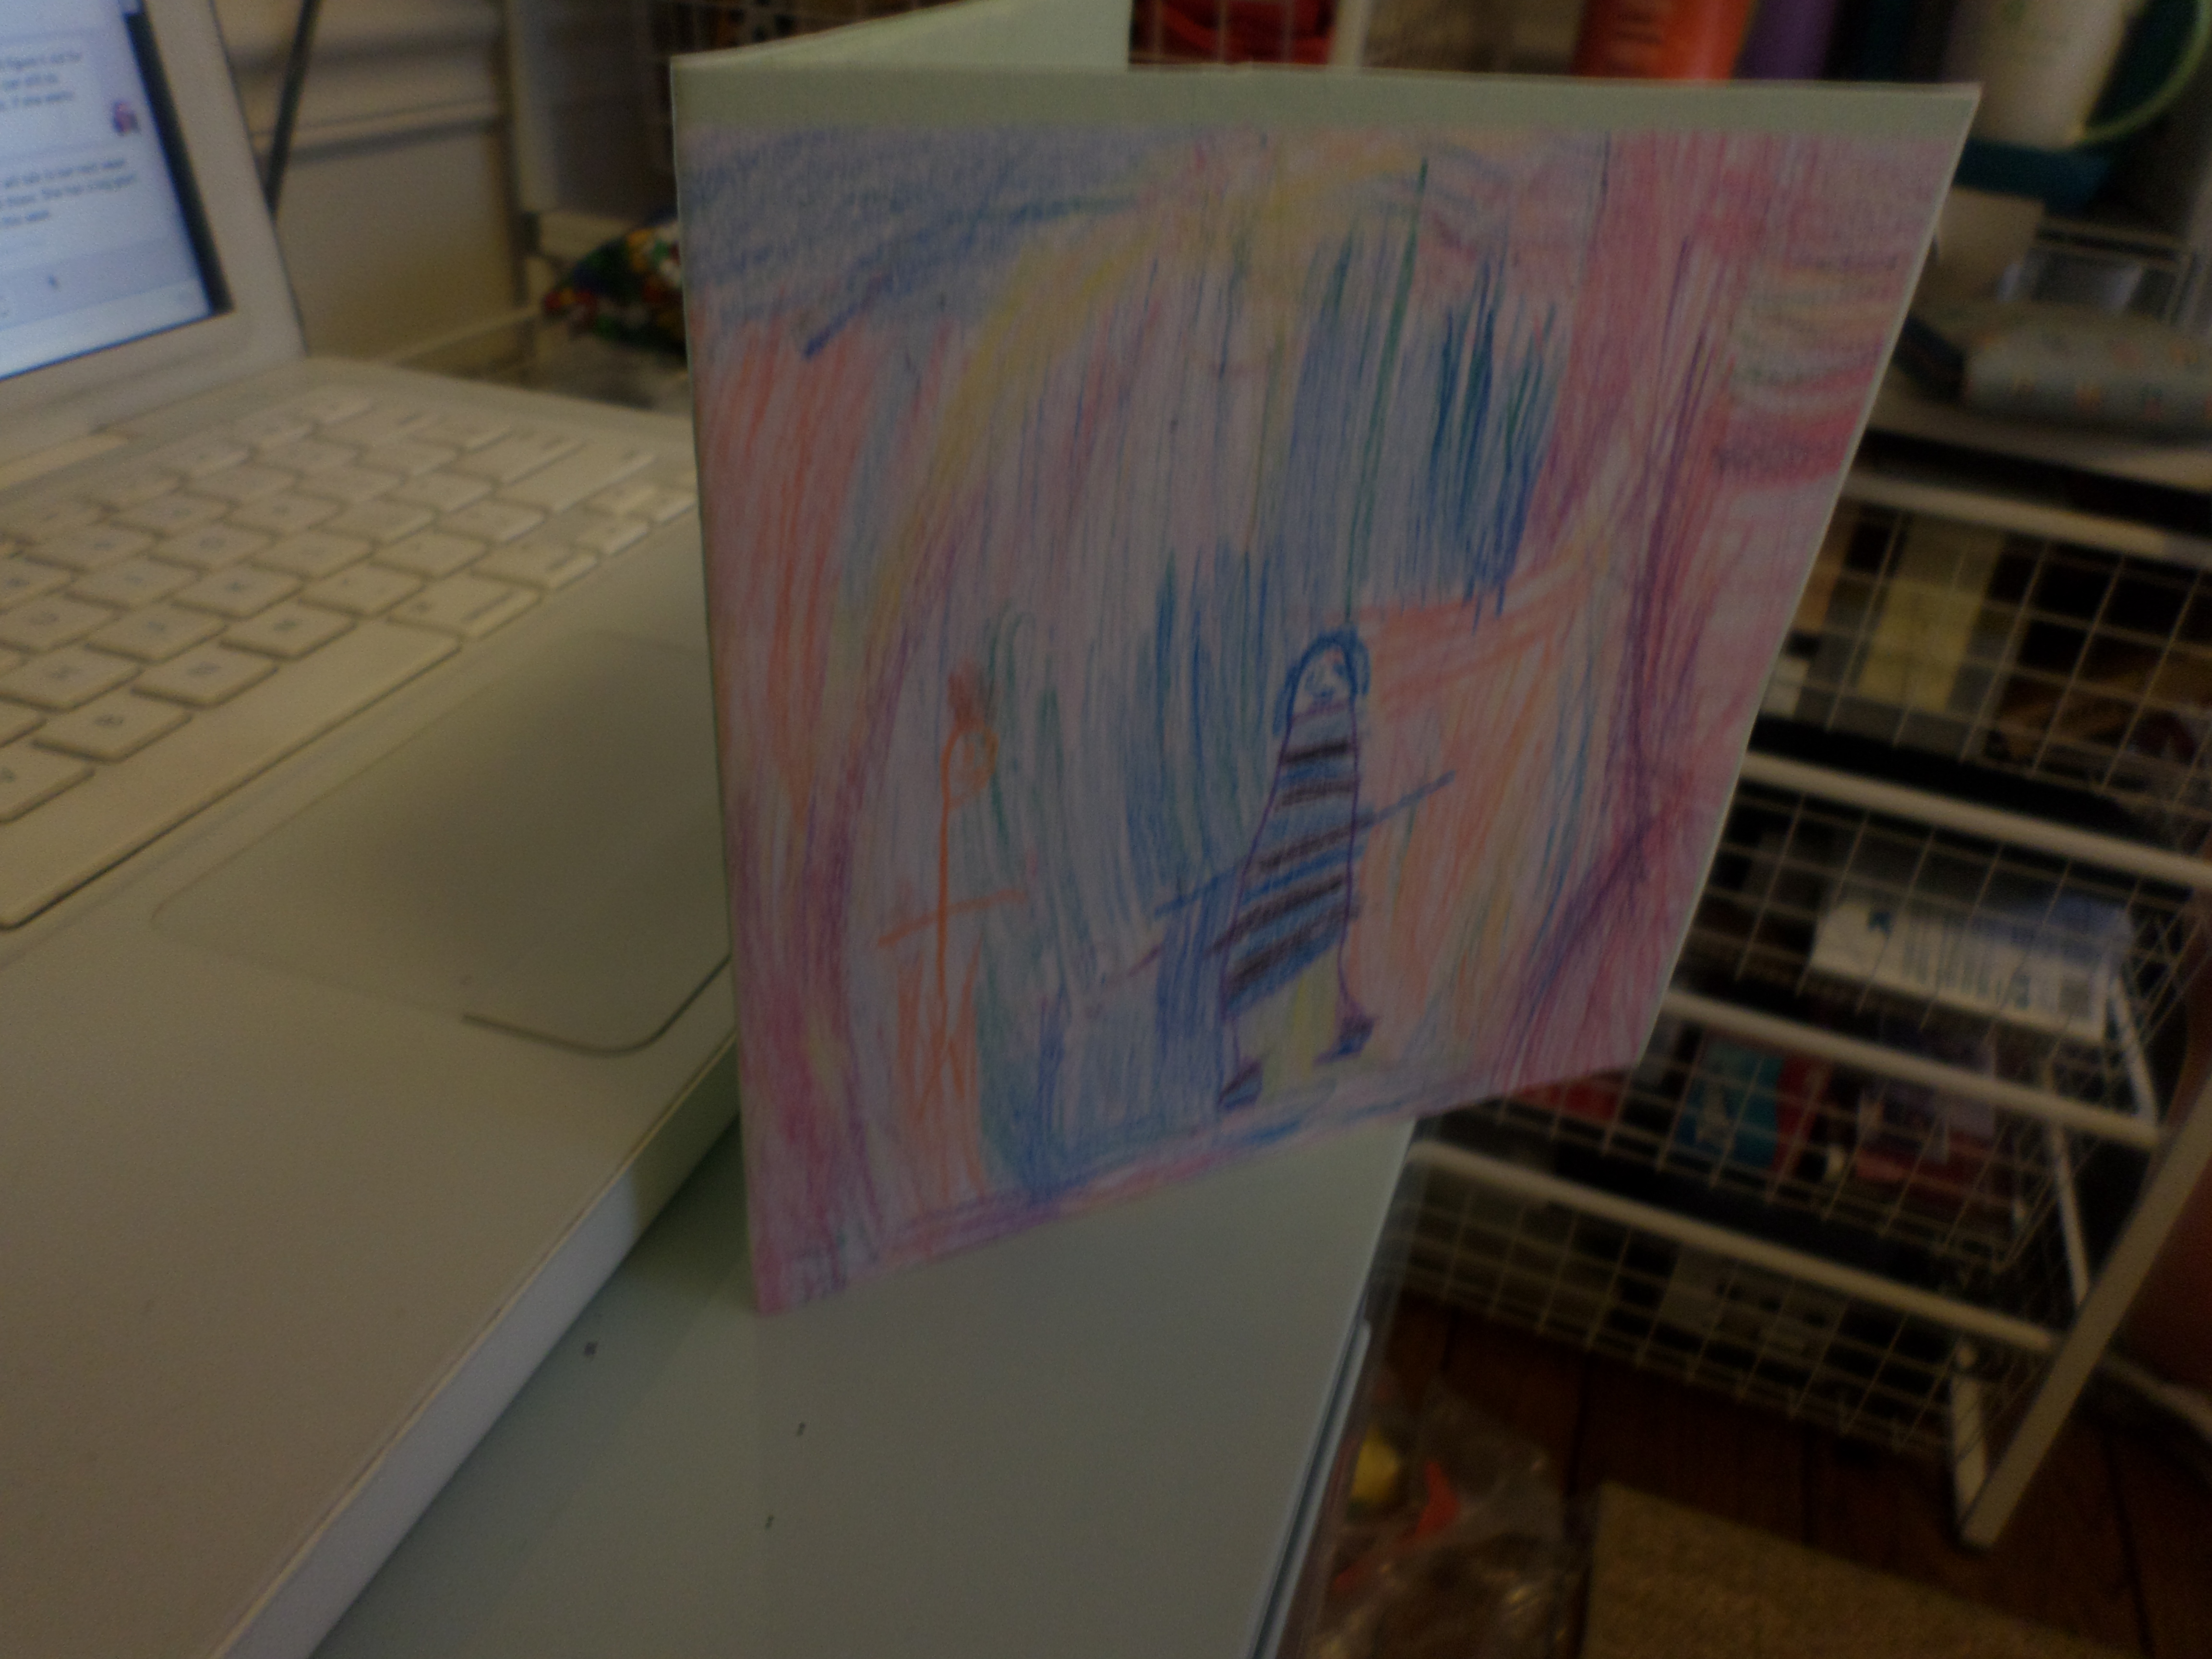
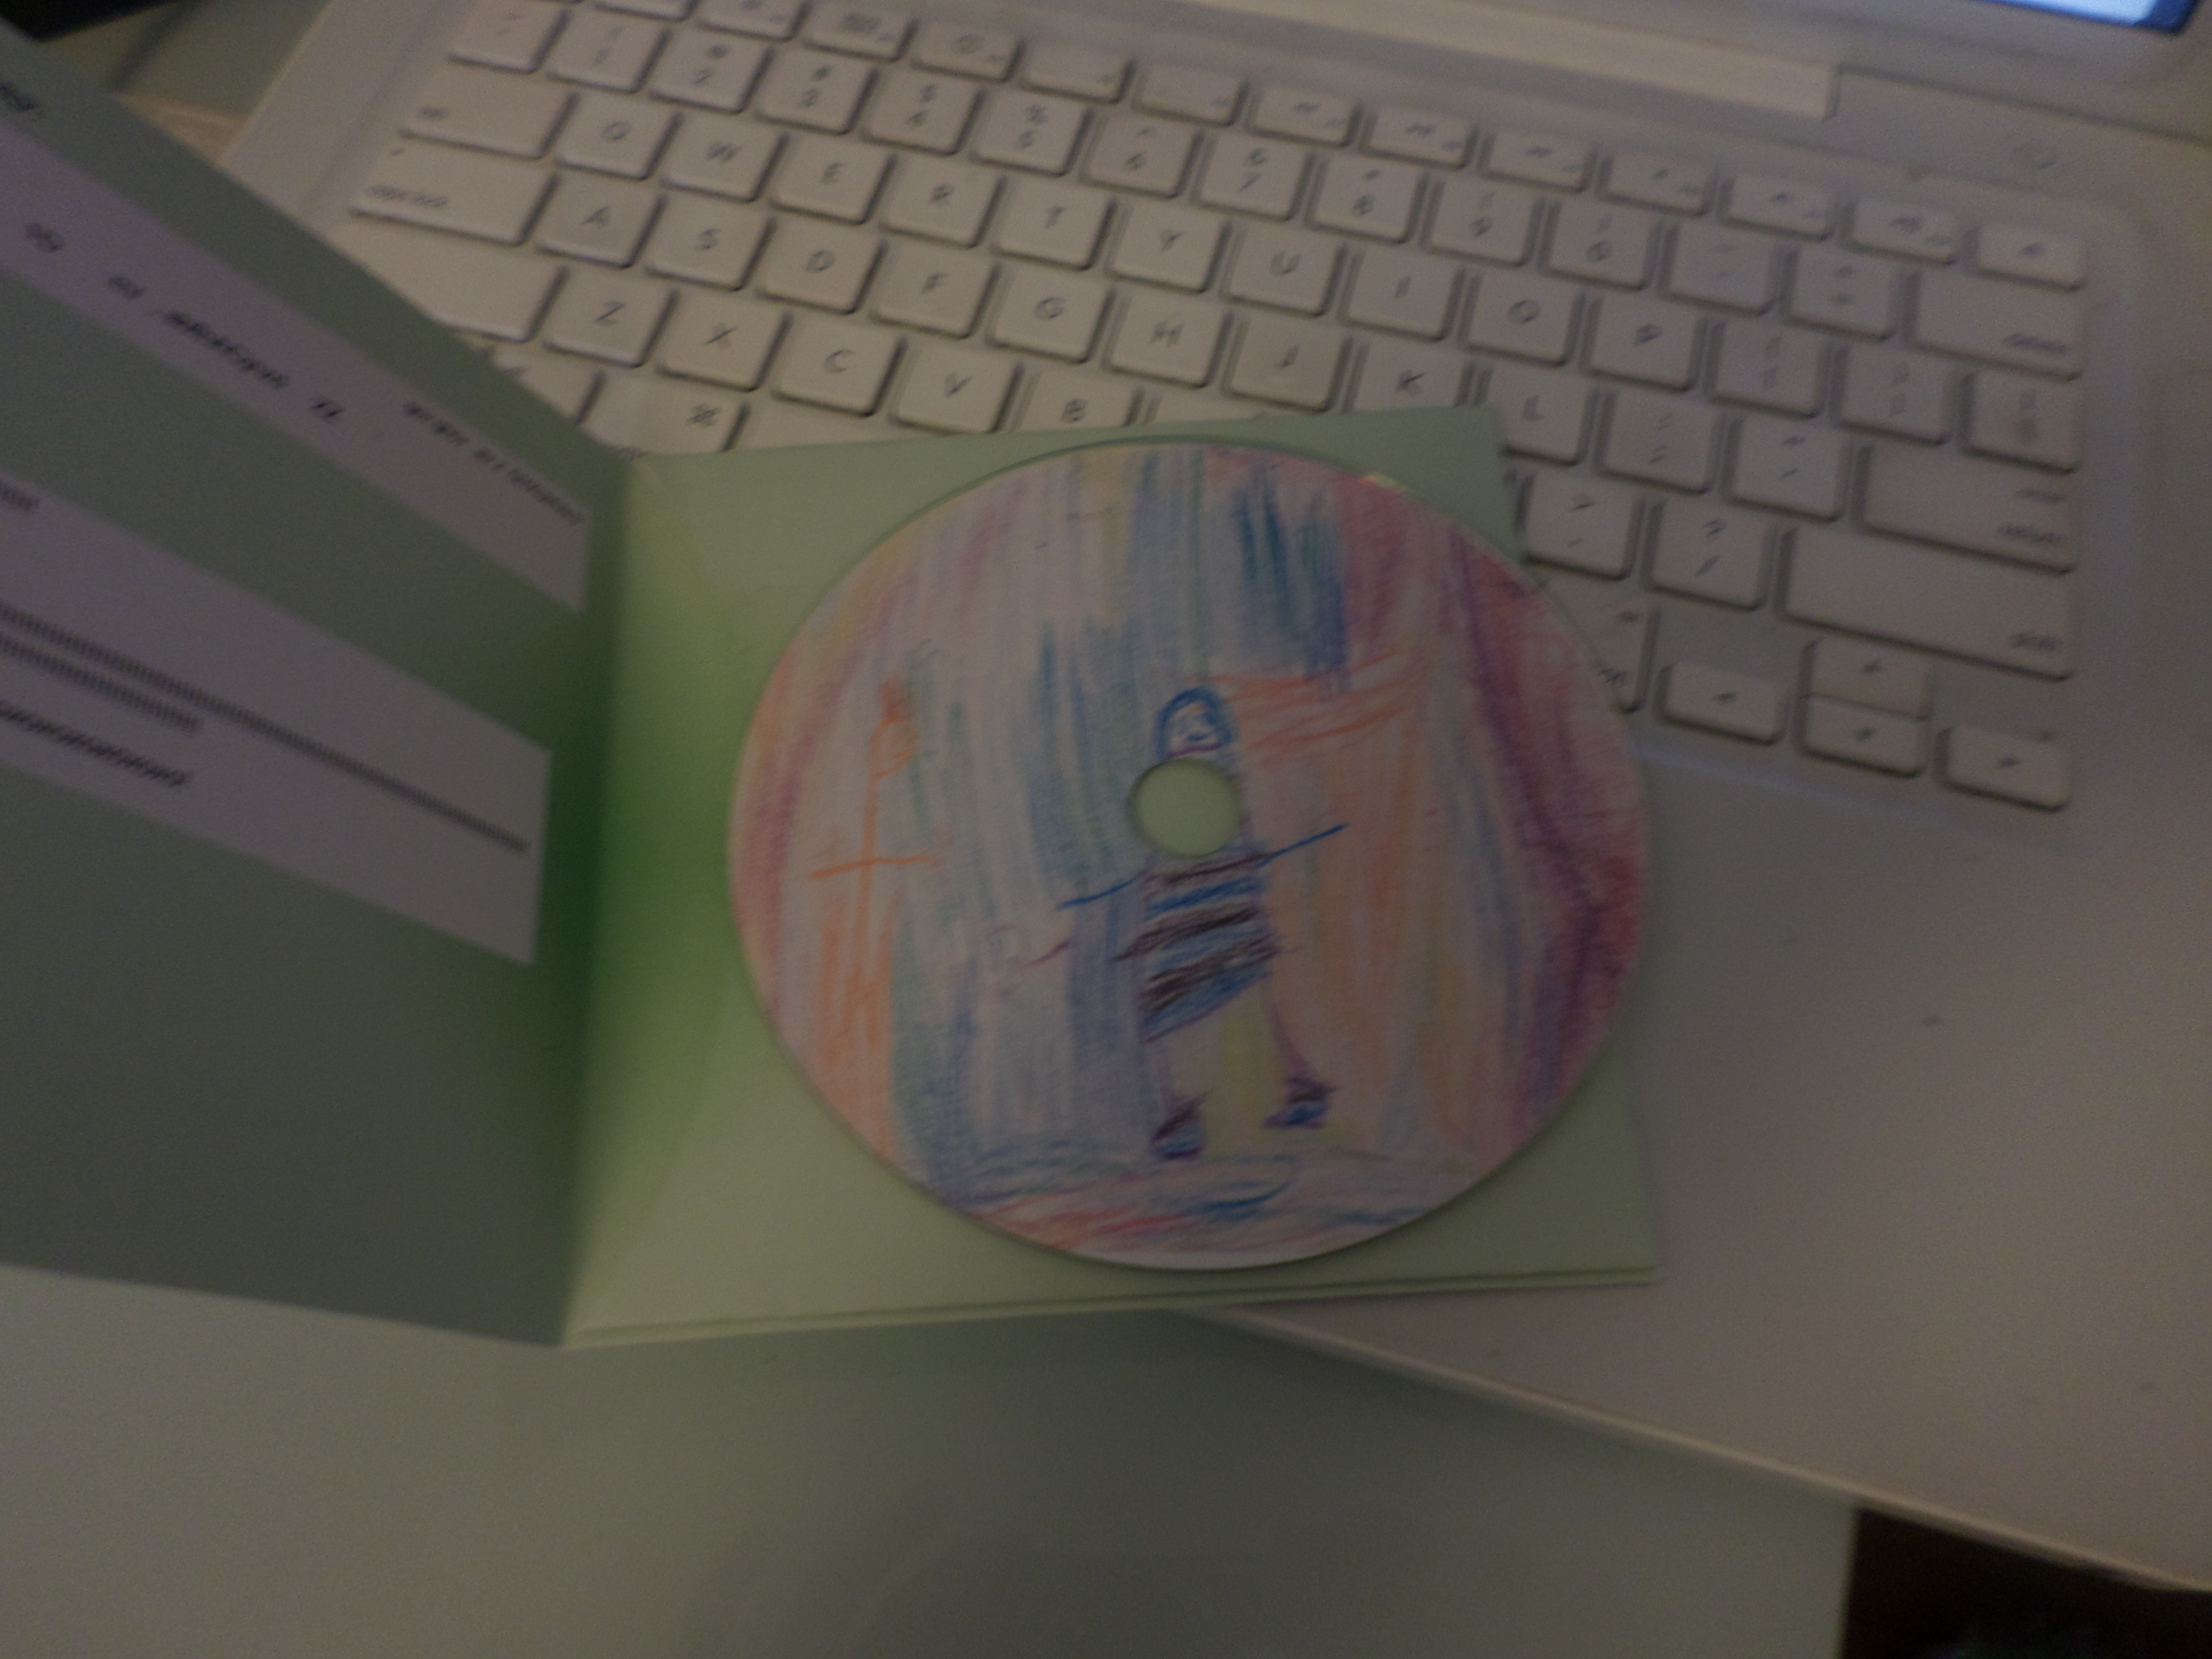
I tasked the four-year-old with coloring a picture to be the front of the CD cover, scanned that picture in, then resized it into the outer cover layer. You can also just take a picture and use it the same way.
3. Make a label.
I just grabbed a pack of Memorex CD Labels which have two labels per page, plus jewel case labels and downloaded this Illustrator template which I used in a manner similar to the CD case templates, except I didn’t have to print a copy of the template since it printed directly on the labels.
There you have it: Three easy steps to a one-of-a-kind (or however many you want) birthday gift. Or graduation gift. Or Mother’s Day (which is Sunday!) gift. Or…you get the picture. Have fun with it. Be creative. Especially if you are giving a mom a CD of her children singing her songs. She will love it. And possibly cry.


