To some, it may be a simple concept to replace buttons on bedding or clothes when they break or fall off. Others will use the item until all buttons are gone, and still others will pass on an item when it’s lost even one button. This afternoon I replaced all 12 buttons (some broken, some still fine, and some completely non-existent) on the bottom of the duvet cover on my bed. I could have just replaced the four missing buttons and waited until the rest of the buttons fall off, but I decided it would be better to have all the buttons matching.
Because it’s how I spent my afternoon and I want to get a little more practice at writing tutorials like this, I’m going to show you my method for replacing buttons.

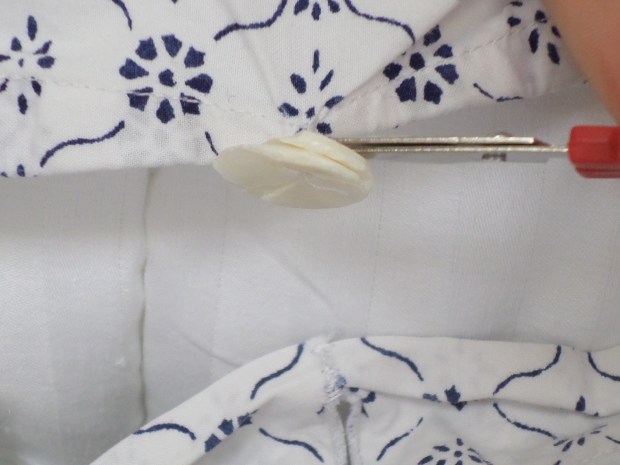
First, you have to remove the old, broken, button. Simplest way is just to cut the string right between the button and the fabric:
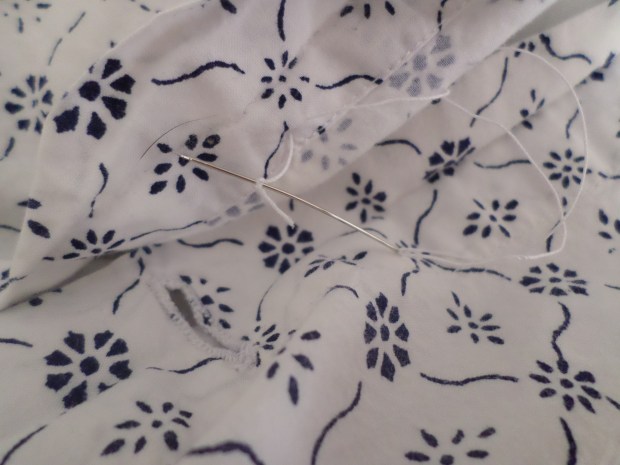
Next, thread a needle and tie a knot in the end of the thread. Then place the button where you want it to go and bring the needle up from behind through one hole of the button:

Go down through the diagonal hole, then back up and down through the remaining two holes in the same manner (If you only have two holes, just continue in a circle between the two holes):

If the old button pulled through the fabric and left a hole, it may be helpful to put the needle back through the knot to secure the button the first time going to the back of the fabric:
Once you’ve gone through each of the holes three to four times, tie a knot at the back and you are finished.

Hopefully this is helpful. Let me know if anything is unclear. Also, what do you repair instead of giving or throwing away that others might just get rid of?
Bonus tip: Make sure you have fairly sturdy needles before sewing. It’s never a good thing to break a needle while you are hand sewing.
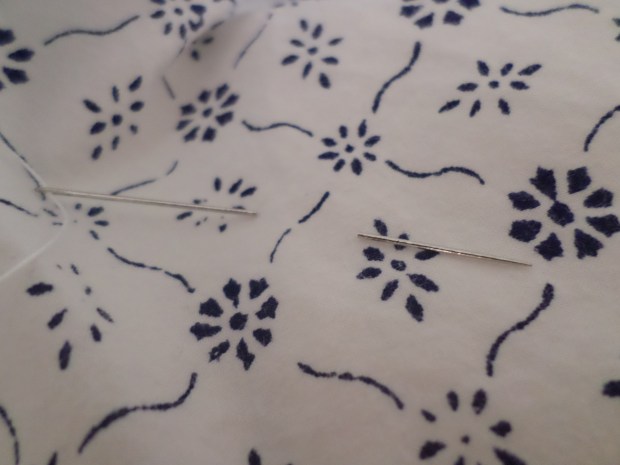
In fact, that was the first time I have ever broken a needle that wasn’t attached to a sewing machine.