On Designing

Is that too pretentious of a title? Meh. Anyway, I have finished many things recently, but I am not ready to write everything up about them just yet. So instead, I thought I’d share a bit about how I go about designing patterns.

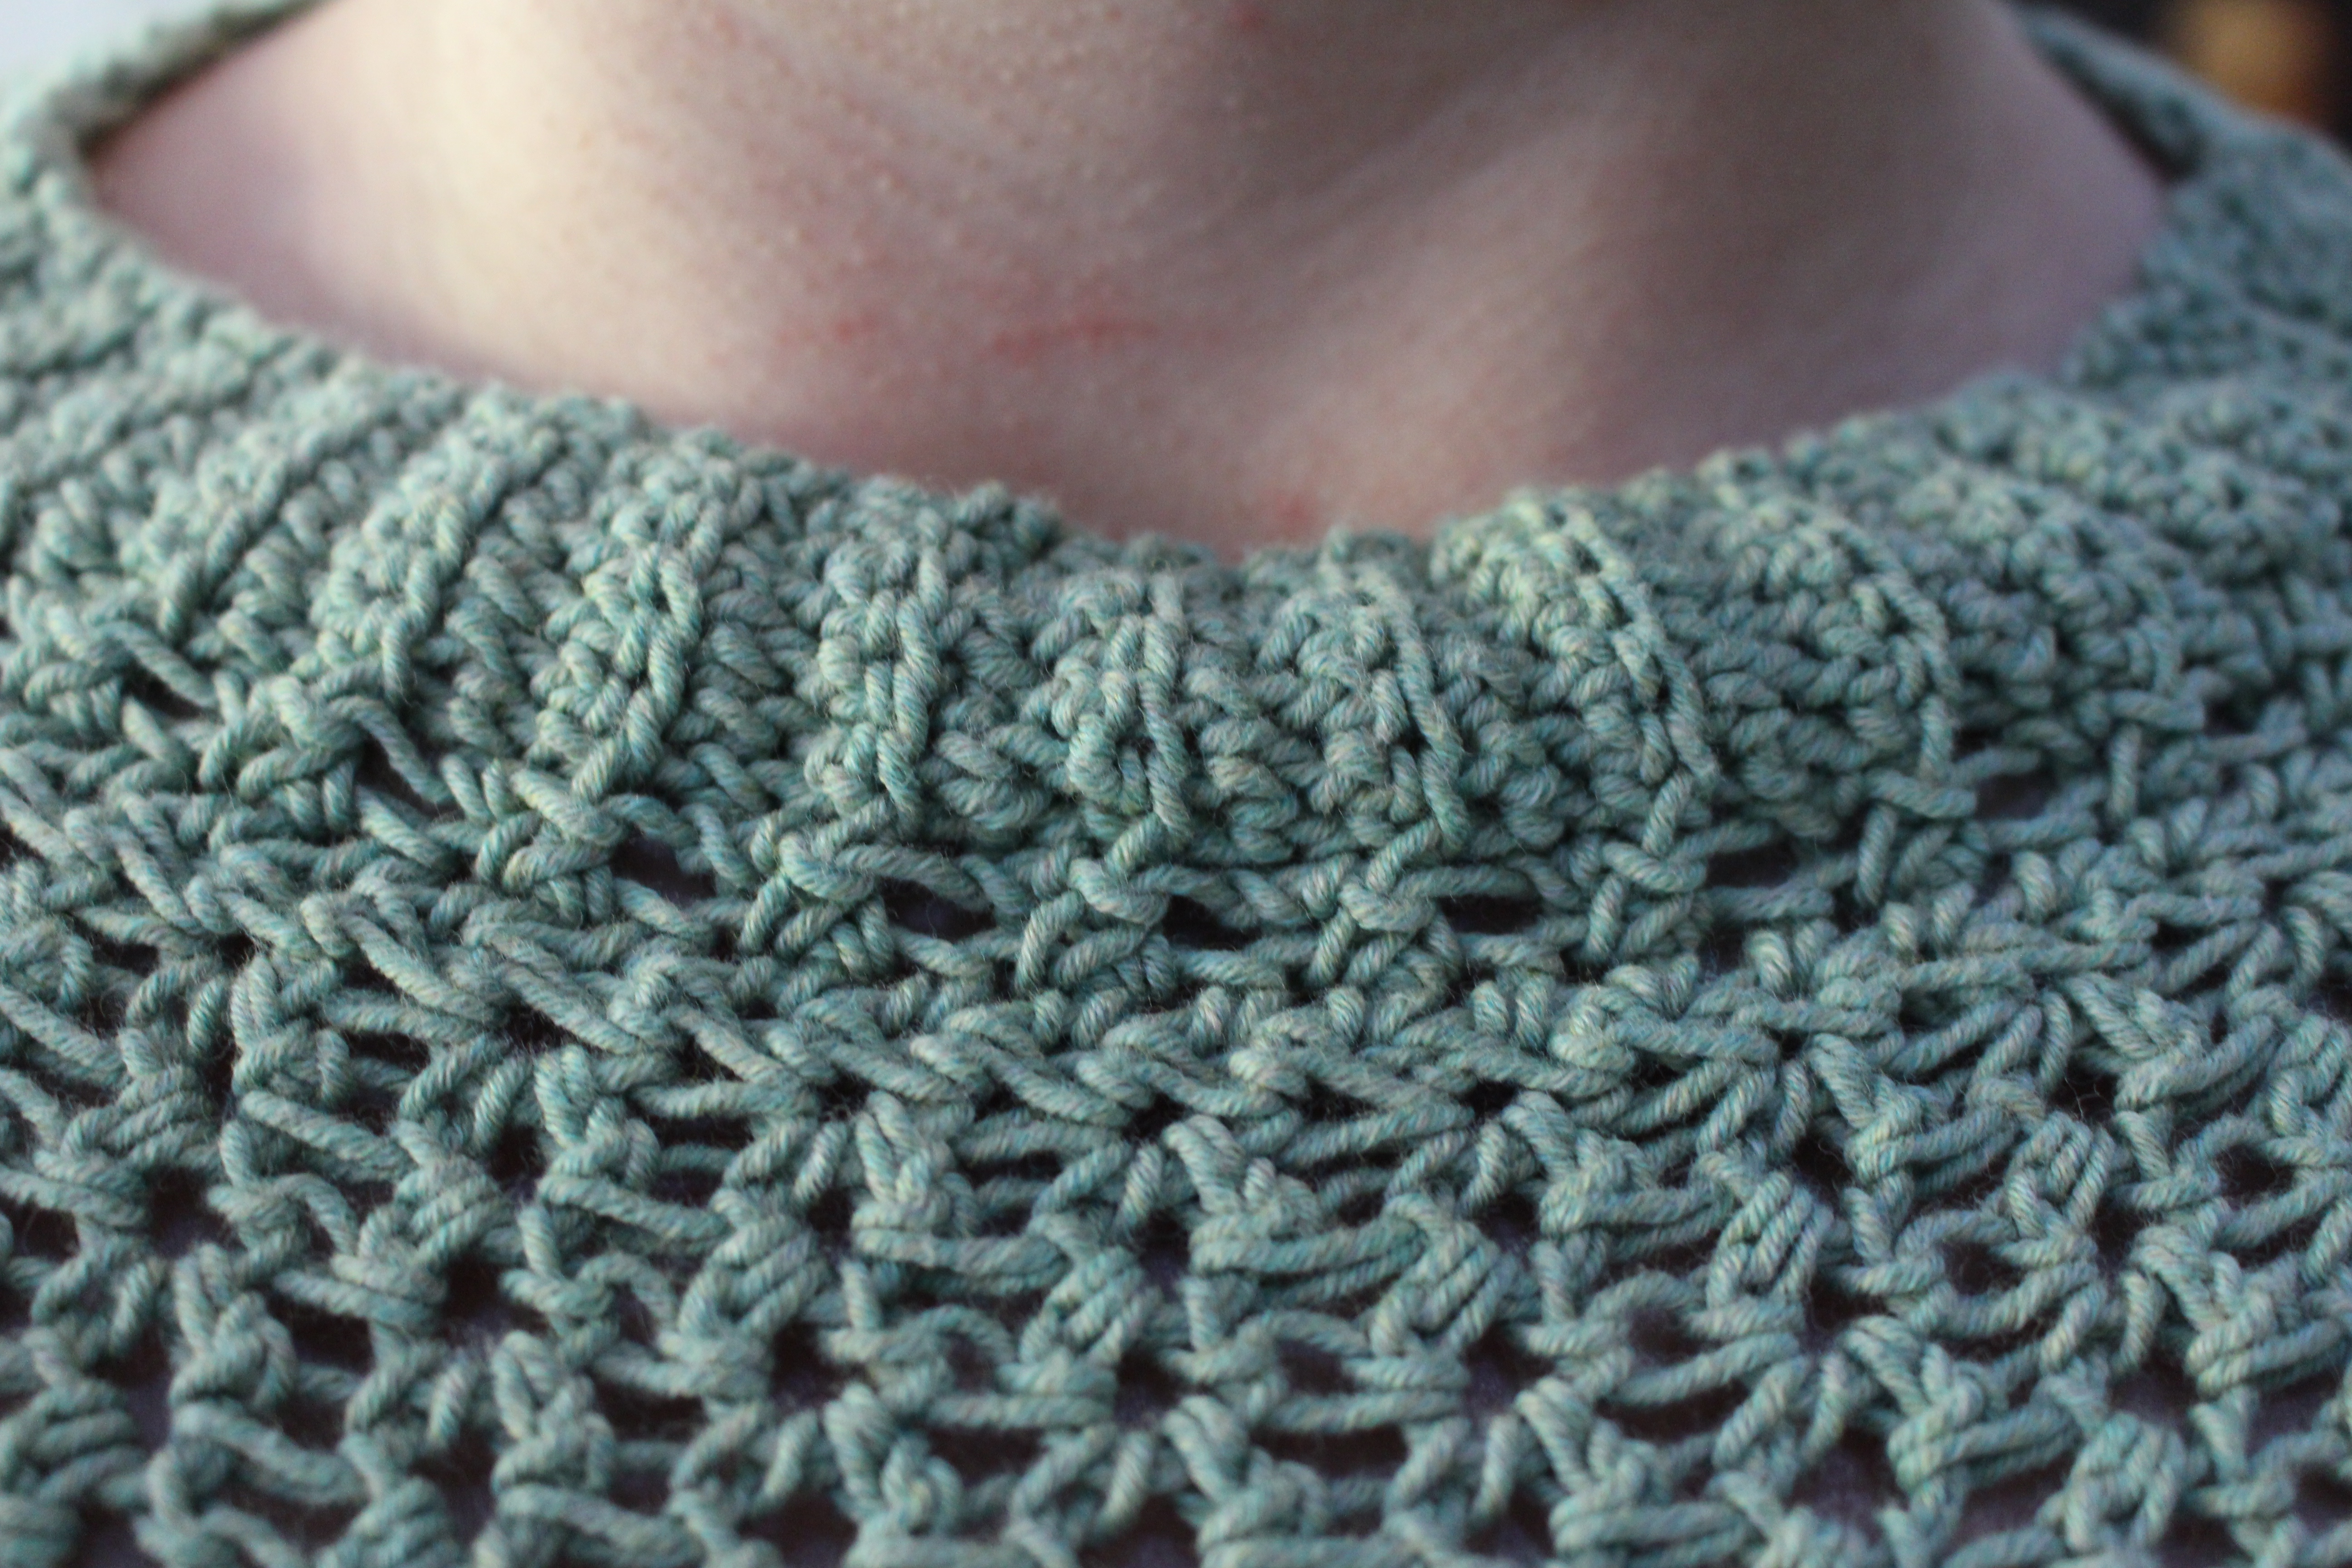
Most of the time, it starts with a swatch and a bit of math on paper. I have to write it out, and often a few different times, so I can see what is going to happen. With these socks in particular, I had to draw out the increases several times, and I am having to do that for each size because I cannot wrap my brain around it to just jump into it.

Other times, I can just measure a swatch and work from there. But that just means I have to do the piece over and over. Like with this blanket. I thought I was going to like the larger squares, but it was too much.

The second time I started this blanket, I still went too large with the squares. But I did find out that you can get a full scarf out of a single ball of Lion Brand Heartland Tweed yarn, in case that information is of use to anyone.

Third times the charm for this particular blanket. Once I finally make the piece I was aiming to make, taking notes on it all the way, I write the pattern up fully, wait at least a week, and then make one following the pattern exactly to make sure I’ve gotten all the steps down. That final version is usually the one I use for the pictures I include in my patterns, though I sometimes also include the one from which I wrote the pattern if it didn’t change much.

There’s a bit of a sneak peek into my design process. Hopefully it’s helpful for anyone looking to design their own knitting or crochet patterns.


Crochet The Day Away

Fell into a bit of a crochet pit recently. After finishing my Betty Boyfriend Sweater, I wanted to do something with the extra ball of yarn I had ordered. And by after finishing, I mean immediately because I stayed up way too late that night starting on this bag:

And once I finished the main body of the bag, it needed flowers. And once I made those flowers, I was struck with the idea for the belt after finishing the flowers. It was a mad flurry of hooks and fiber for a few days. Once I finished those, I still felt a need to crochet something else. So I grabbed my Crochet One Skein Wonders book and created this yoga mat bag:

I ended up making it twice, because the first time I went way off course from the pattern. The second time I followed the pattern exactly and it ended up being about a foot too long. Luckily I was able to put my mat in, rip back to about where I wanted it to end, and redo the final round with the mat still in the bag. It’s not a crochet project unless I have to do at least one part twice, I guess.


Sweater Weather

Well, okay, it’s not the same as sweater weather anywhere else. Which is why my new sweater is an open-weave crocheted sweater made in a sport weight cotton yarn.

A woman wears a green crocheted sweater and blue camouflage leggings standing in front of a green and white wave painting on a white wall.

The pattern is The Betty Boyfriend Sweater by Natalia McHayle (@taliacrochetcreations on Instagram) and the yarn is Cotton Pure in Linden Green from Purl Soho.

Back view of a woman wearing a green crocheted sweater and blue camouflage leggings standing in front of a green and white wave painting on a white wall.

The pattern is super easy and quick to work up. I finished it within four days, including sewing seams and adding the ribbing. Somewhere along the sleeves I accidentally added 10 rounds, which worked out nicely because I like my sleeves to end either above my wrist or in the middle of my hand.

Close up of the side seam detail of a green crochet sweater near the bottom edge ribbing.

The sweater is made in two flat panels that are then seamed up the sides and at the shoulders. You add the sleeves working back and forth in the round, which I totally missed the first time through. It’s not only written in the notes, but the joins are written in the instructions, too. I just happened to miss it both places until I was at the end of the first sleeve and realized there was no instruction telling me to seam it. I have a habit of messing up the first time through on a sleeve, though. Really would like to break that habit, honestly.

Close up of the neck ribbing detail of a green crocheted sweater

You add the ribbing on the sleeves, neckline, and bottom edge perpendicular to the edge and seam it when you get back to the beginning.

Close up of the shoulder seam detail on a green crocheted sweater.

The yarn is a dream to work with, too. I had a full ball left and ended up making a bag and a belt from it. My hands don’t really get fatigued when working with cotton yarns like some people do, but this one is very soft and shouldn’t give you too much problem if yours do. It’s even machine washable. These pictures are straight out of the dryer. It is so nice against the skin when wearing the sweater, too. I couldn’t wait to wear it today to take these pictures, and am planning to actually wear it again tomorrow. More detail available on my Ravelry project page.