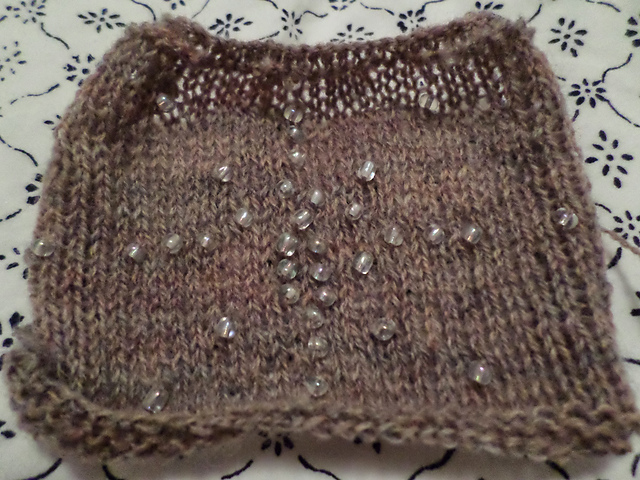
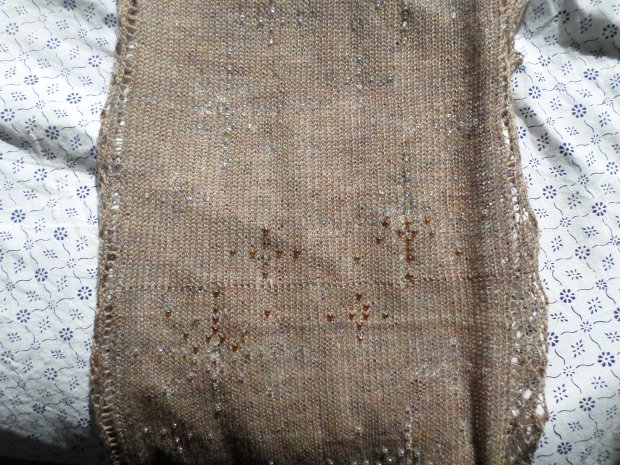
One would think it would be impossible to forget a holiday that is advertised everywhere for the month and a half leading up to it, but one would be wrong. That is how I found myself desperately making four Valentine’s at 8:00pm Thursday night. At first I attempted to knit some little heart pillows. I found the perfect tutorial and had set about on the knitting, when I looked at the clock, realized it was 9:00pm now, and saw that I was only about a quarter of the way through Valentine #1.

Change of plans, and quick. I don’t have much in the way of craft supplies just lying around. Sure, I could draw up some cards in no time, but these are for little people who are pre-reading and would really rather have something tangible. So I dug through my meager closet stash and found a piece of purple, a piece of yellow, and a large piece of green felt in my “leftovers” basket.
With just the felt, a pair of scissors, some embroidery thread, and a minuscule amount of supplemental yarn to add to the padding, I managed to whip up some cute little love pillows.
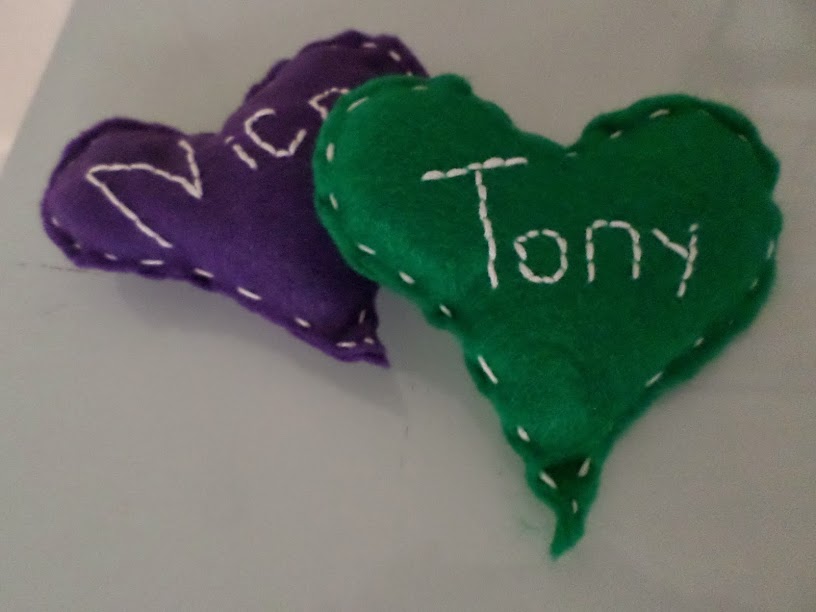
Mini Heart Pillow DIY
Materials
- Colored Craft Felt
- Scissors
- Embroidery Thread
- Stuffing (can use fiber fill, left-over fabric/yarn, basically whatever you have on hand to fill the pillow with)
Instructions
- Cut two matching heart shapes from the felt. This can either be done with a template you create on paper or, my favorite method, by folding the felt in half while cutting to keep the hearts as close to each other in shape as possible.
- Using all six strands of embroidery thread (to make it stand out; use less if you want a more subtle effect), back-stitch the name of the recipient or your desired message onto one of the felt hearts. This tutorial from wikiHow can help if you have never done a back-stitch before. Note- I don’t knot my thread, i just leave a bit hanging at the beginning of my work on the wrong side of the fabric.
- Holding both hearts wrong sides together, take all six strands of thread and a running stitch around the edges to hold the pieces together. Be sure to stuff it as you go so you aren’t trying to push a whole pillow’s-worth of stuffing through a tiny hole at the end.
- Bring the end of your thread through the middle of the pillow, putting the needle in between the felt pieces at the edge and taking it out the same way at the opposite edge and cut the thread close to the pillow.
And that is it. You have a nice little gift to show your love and appreciation of a loved one in a very short amount of time. I think each of these took me around ten minutes from start to finish. It may take you more or less time depending on how proficient you are at sewing and embroidery, of course.
What kinds of gifts did you give for Valentine’s day?

 I am actually very happy that it turned out darker than I expected. The color is similar to beach sand (hence the Oregon Coast name) with subtle rainbow-esque variations within the colors.