Pups Save A Cake

The little one has become obsessed with the show Paw Patrol over the summer. And with an end of summer birthday, that meant he knew just what he wanted for his birthday cake (instead of the “George and the man with the yellow hat” cake he had been asking for since his brother’s birthday): “Paw ‘trol wit Rubble sleeping on da grass and da Pup Pup Boogie Monster.”

I used the frozen buttercream transfer method to create the pieces. I found pictures from Google and put them together like that in Photoshop, created the “Happy Birthday” shield, then flipped it all so it would turn out the right side up.

I got a bit creative with mixing the colors so I only had to make one batch of icing for the decoration. I also baked a strawberry cake from this recipe, which is the only one I could find that didn’t use strawberry Jello. Then I had to make a second cake to turn it into a full cake because:

Once that was solved, and the cake was frosted, I pulled the tray from the freezer, flipped it over on top of the cake, and peeled off the parchment paper. All I had to do after that was add the smaller details and it was ready for the party.

Making the cake this way was super simple and created some really nice decorations. Way better than it would’ve turned out had I tried to draw them all on with icing.

Have you ever used icing transfers? Do you bake birthday cakes, or just order them from the store?

The Dark Side Has Cake

TO round out these posts abour June that have dragged on into mid-July, I brought cake. Well, pictures of cake. The actual cake has been gone for weeks.

It’s Lord Vader, and he was delicious. I used this pan by Wilton to bake a chocolate cake, then covered it with black frosting according to the instructions included along with the pan. By the way, it took a whole canister of black frosting coloring to make it even this dark.

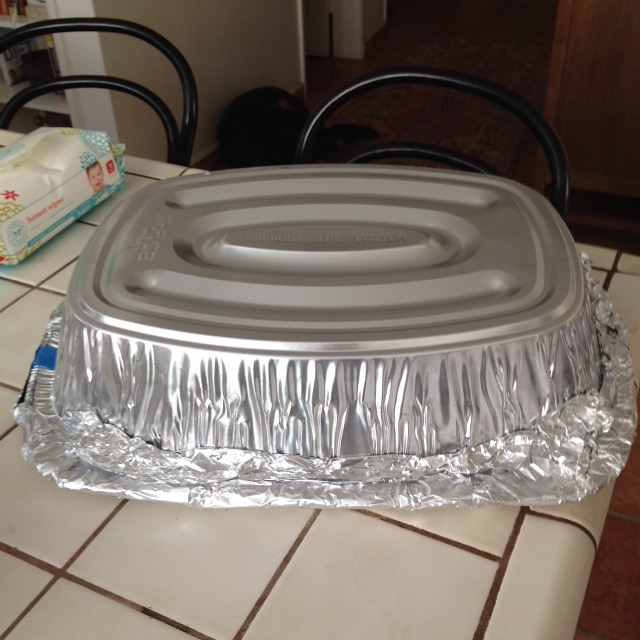
And, of course, I forgot to get a cake box. Because I never write a list for the store. But I learned that it is actually quite easy to fashion one from a turkey roasting pan and a cookie rack. Just remember to tape the cake plate in place first.

Icing The Trash Truck (Birthday Cake Semi-Tutorial): Part 2

So yesterday we baked a cake. Now it’s time to frost and decorate.

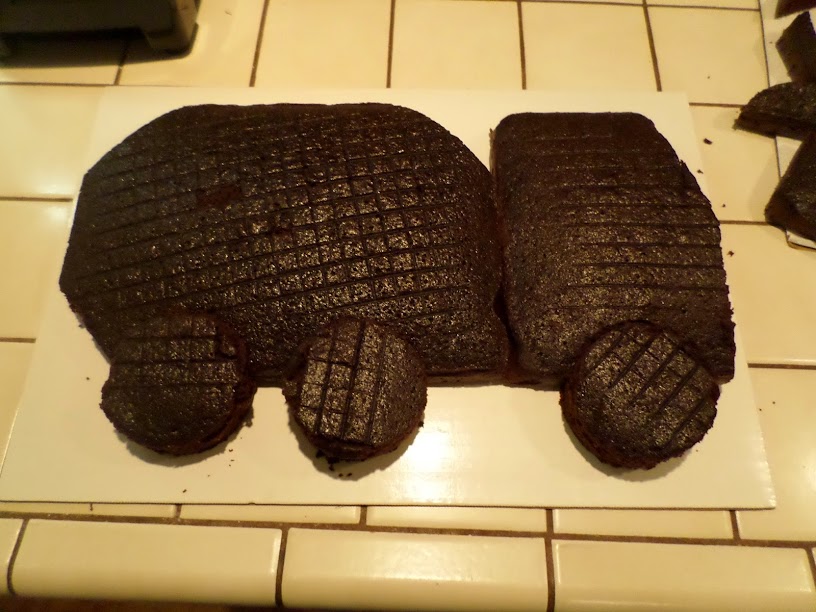
We have two sheet cakes that were left to cool all afternoon, now we have to truck-ify them. Yes, that’s a word. A word I just made up. Anyway, starting with one cake, cut the corners off one short side and the top of the other. Cut the other cake in half and place it next to the first cake. Now take a circular cookie cutter that seems like a good size for the wheels and cut two wheel wells into the body of the truck and one into the front. Then cut three wheels from the remaining half-cake and put them into place. Also, cut the front at a slight angle to create the windshield.

Now is time to make the frosting to hold this thing together.

Again, gather your ingredients. Then, start by measuring out your powdered sugar, your shortening, and add another 1/4 cup of sugar because you accidentally used a 1/4 cup rather than the 1/3 cup measure you meant to grab. Here’s where I changed it up again, I used 1 teaspoon of strawberry extract rather than the vanilla called for in the recipe. Like the recipe says, this looks nothing like icing at the beginning, but let the mixer run and it will soon smooth out.

Now you can mix in colors and “glue” all the pieces together with it. You want to thin it out and make a crumbcoat first. That has to sit overnight at least. Then you will also thin out the icing you use as your base color.

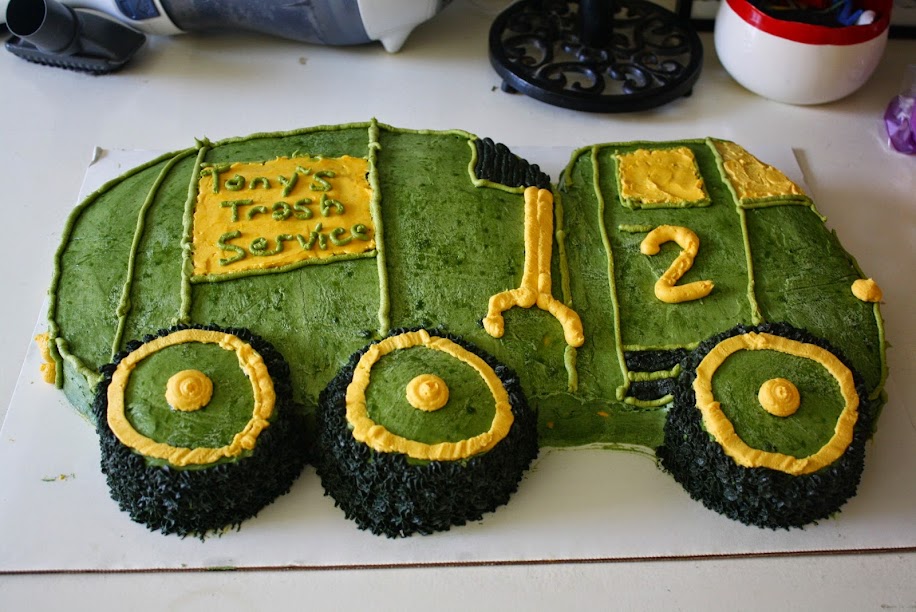
Make more icing, using the original vanilla flavor this time, to use for decorating. I used the “grass” tip to add texture to the wheels, a flat tip to fill larger spaces, and a number 2 tip for piping lines. Here’s the end result:

The icing sweat because it had been kept in the refrigerator overnight, but other than that it turned out perfectly. It’s still really delicious, and it is now nearing a week old.