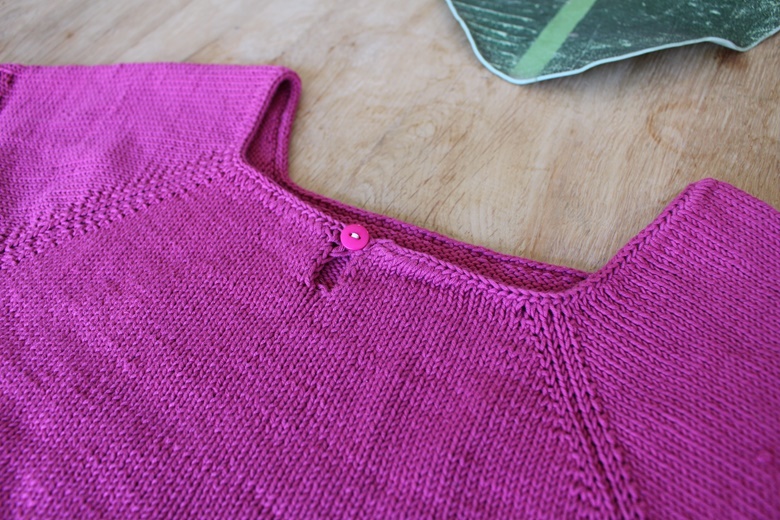
I wasn’t sure about getting the collar over my head, so I decided to add a small keyhole opening to the back and left myself a long enough tail to crochet a small chain of a few stitches to act as a buttonhole. I even had a near-perfect match of a tiny button in my button bin. (And the opening ended up being completely unnecessary, but it’s cute)
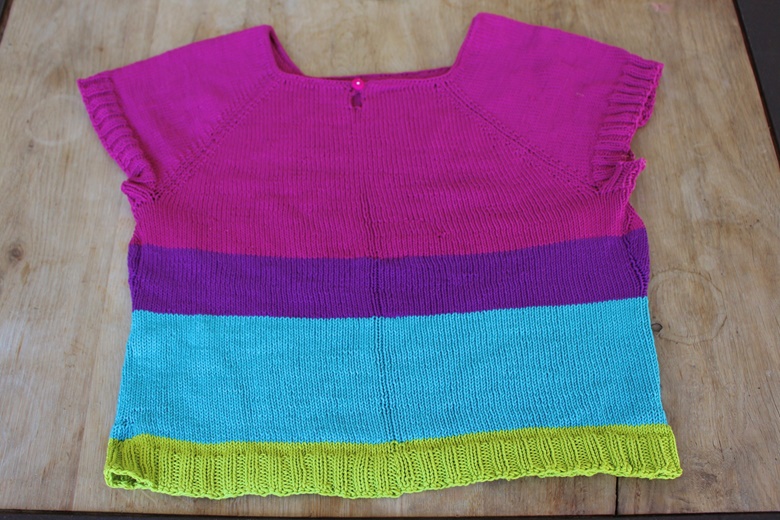
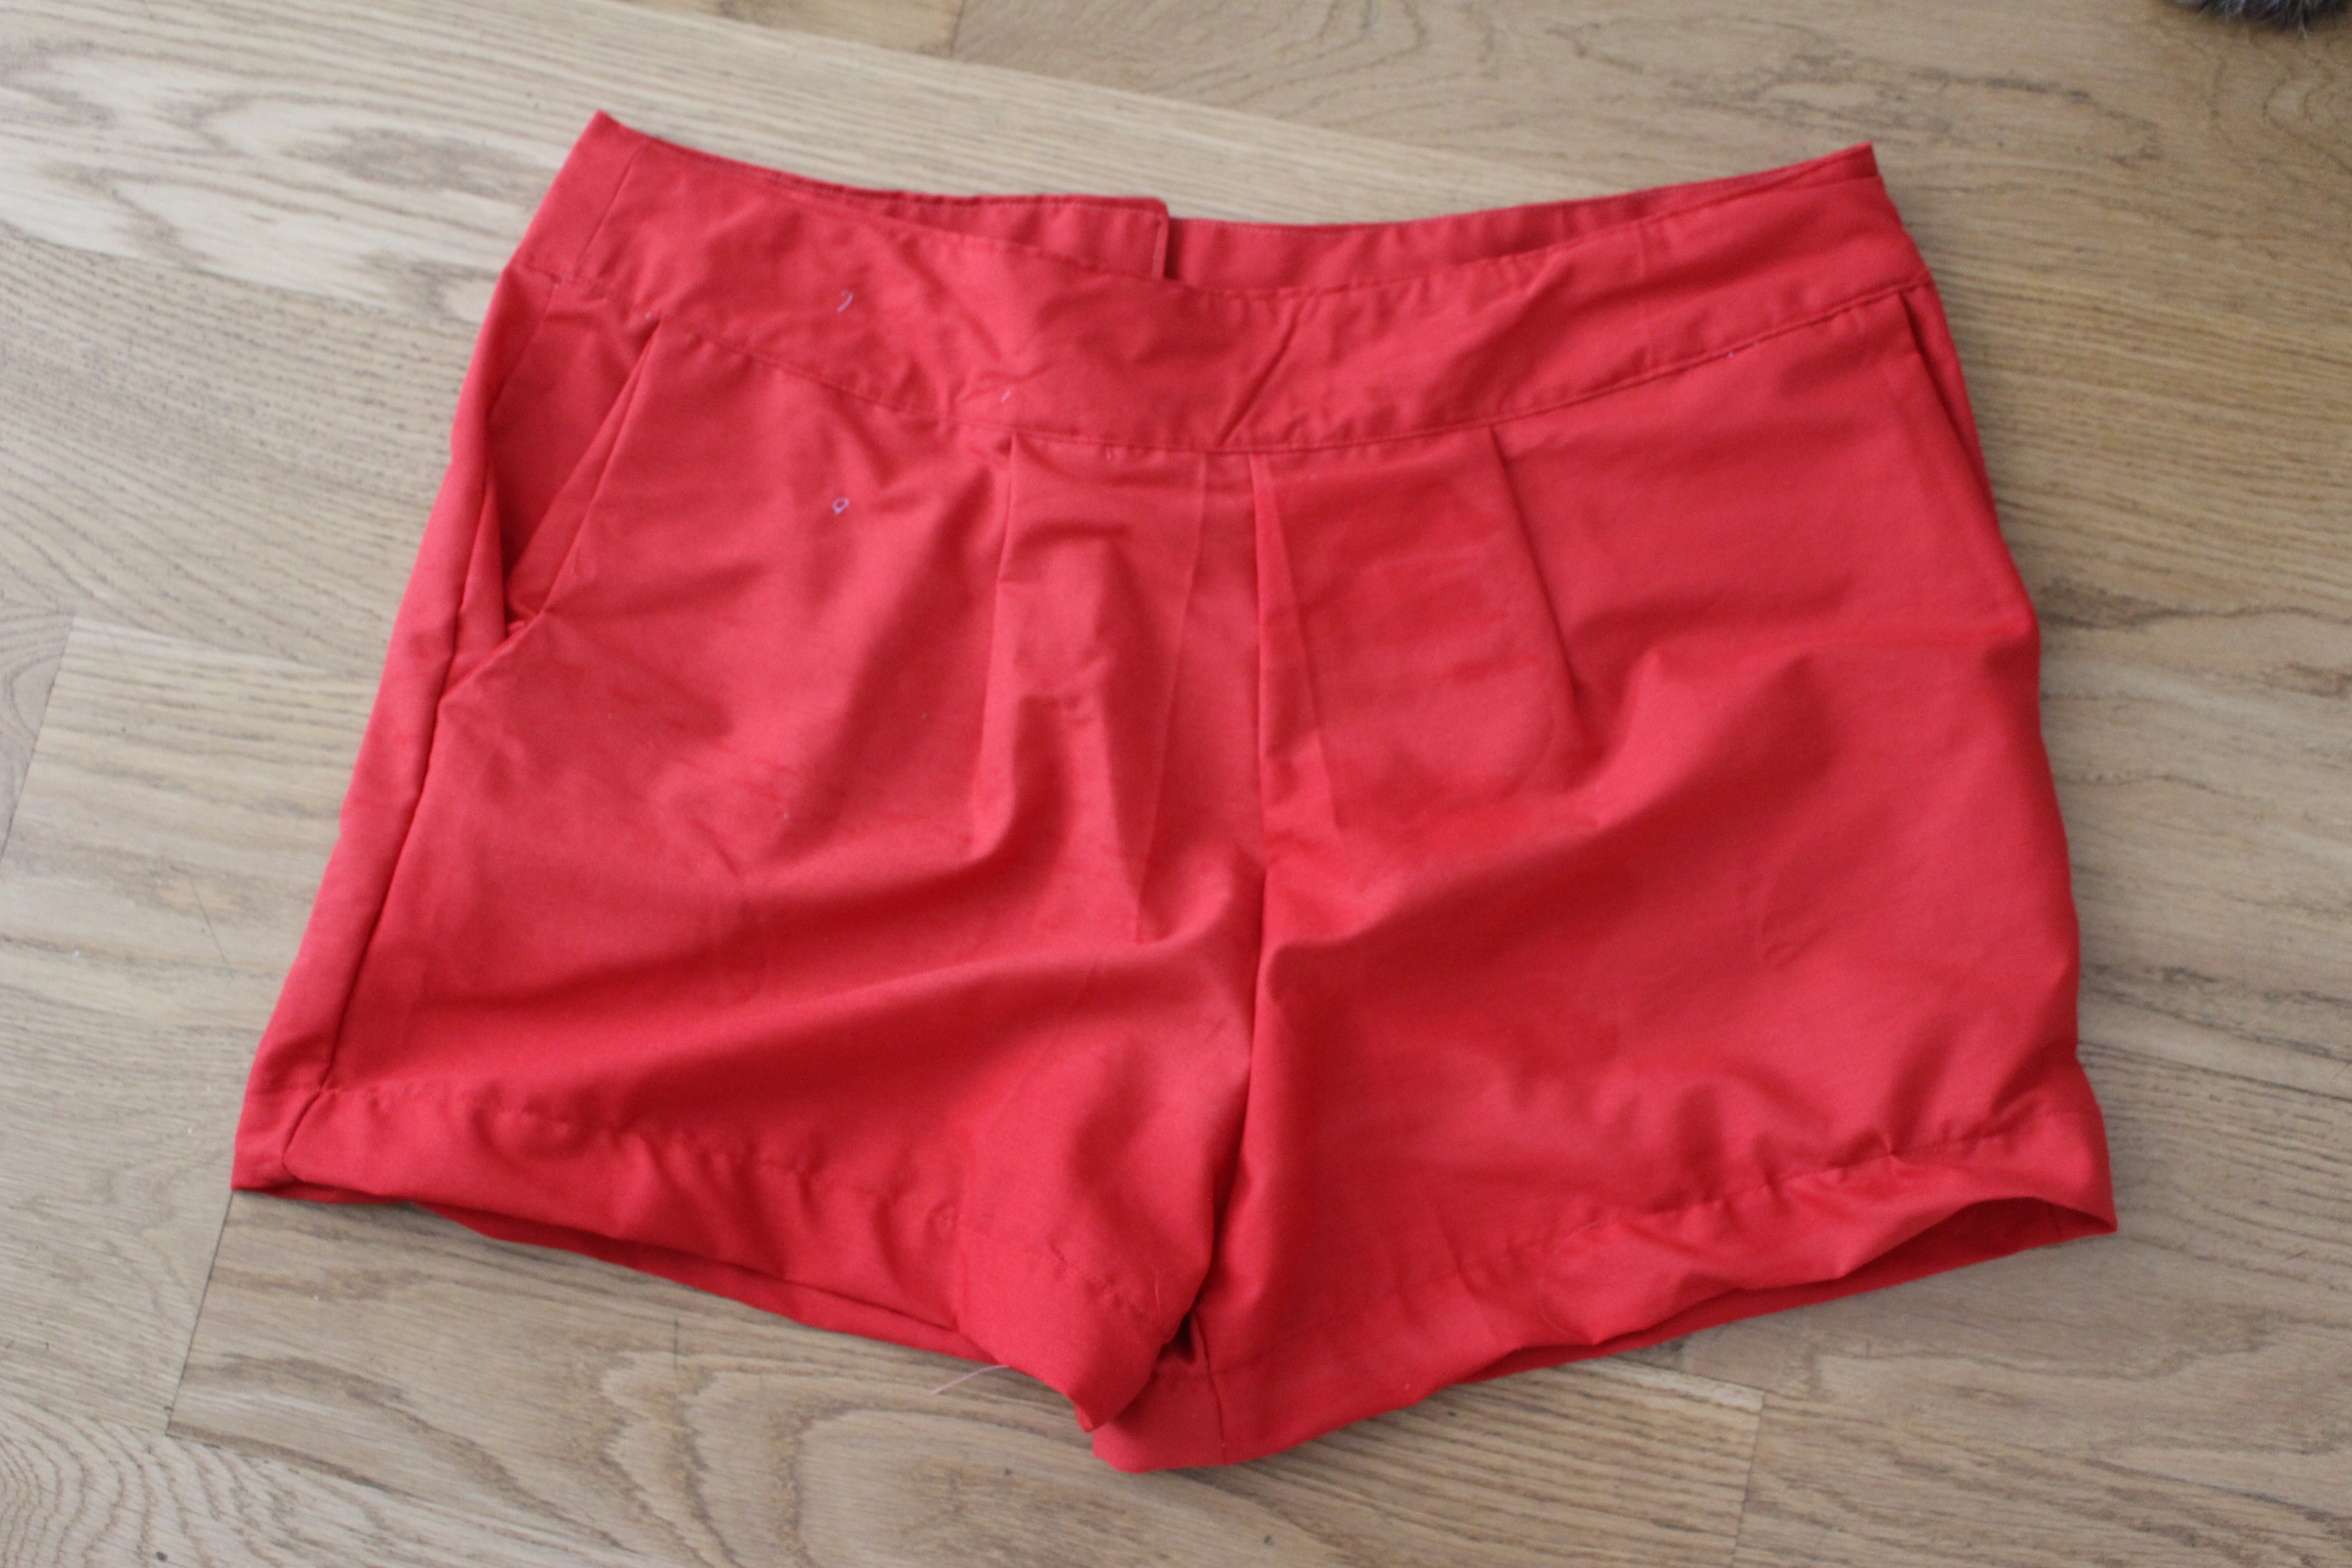
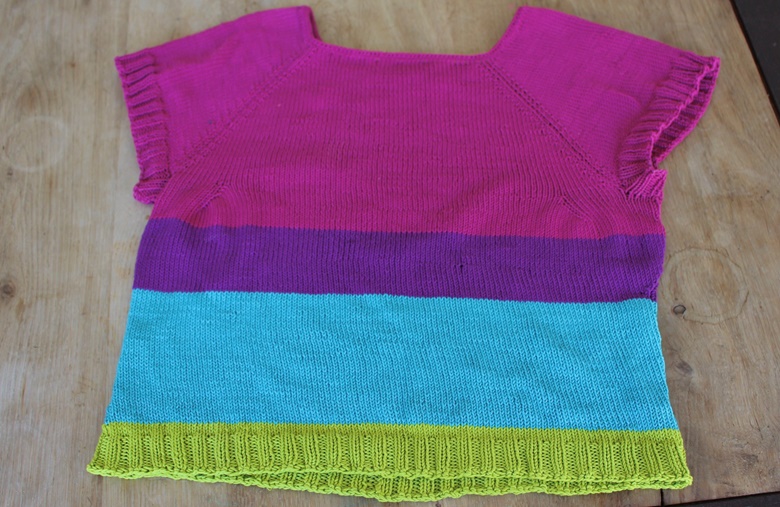
I used each yarn until I ran out of what I had left, hence the uneven stripes. But I managed to have similar enough amounts to make it look like the stripes are intentionally large and small like that.
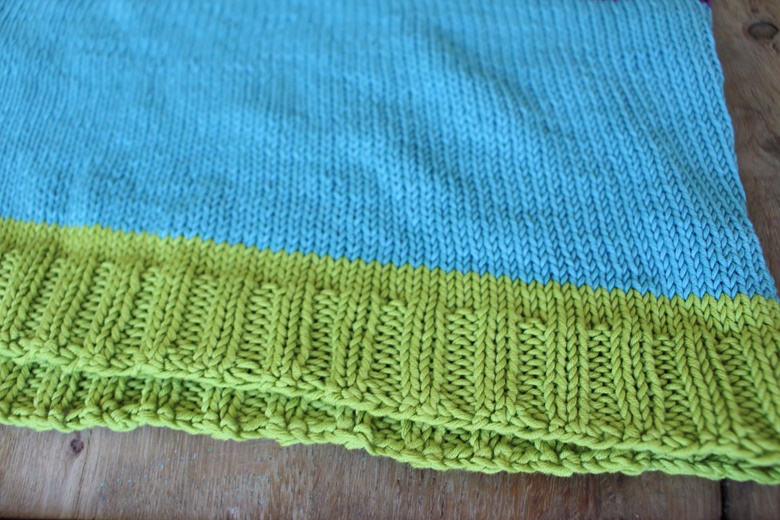
I ended the bottom and the sleeves with just some 2×2 ribbing and my usual bind off of Jeny’s Surprisingly Stretchy Bind Off. Because of the natural yarn restrictions, I did the sleeve edges right after connecting the body at the underarm before using the rest of the pink yarn in the body.
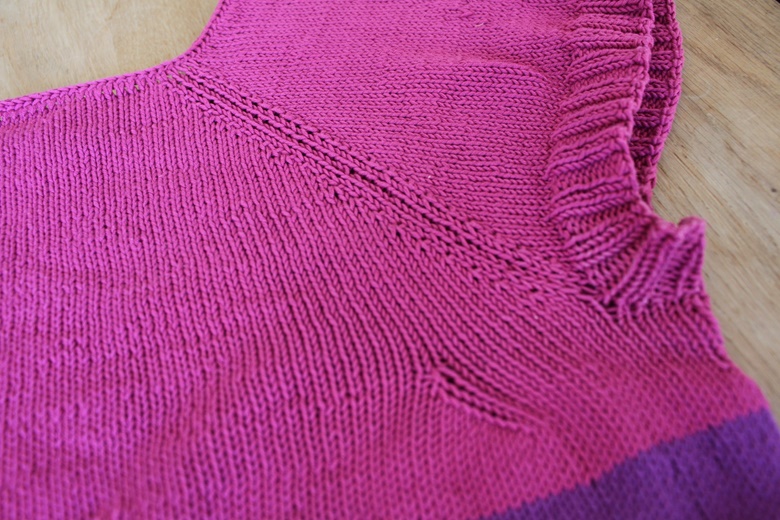
I did very minimal shaping at the chest, just a few increases above and decreases below on the front, plus a few increases at the sides of the hips, but mainly the body is just plain stockinette after the raglan sleeves.
This was just a stash-busting project for myself and not an actual design, but it was a fun “mindless” knit between a bunch of design projects and a test project for another designer.