Sorting Squares

I finished my squares for my blanket project a couple weeks ago, and now I am on to the sorting and blanketifying process. (Let’s all just pretend that is a real word and move on, shall we.) The sorting process is moving much quicker than the knitting or end weaving processes.
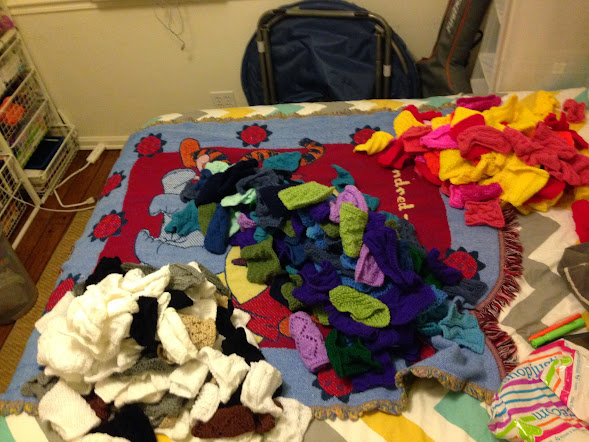
I started by dumping them all out and splitting them by neutral, warm and cool colors so there would be less to separate in each group. Plus I had three bags to put these in and splitting them that way made the most sense.
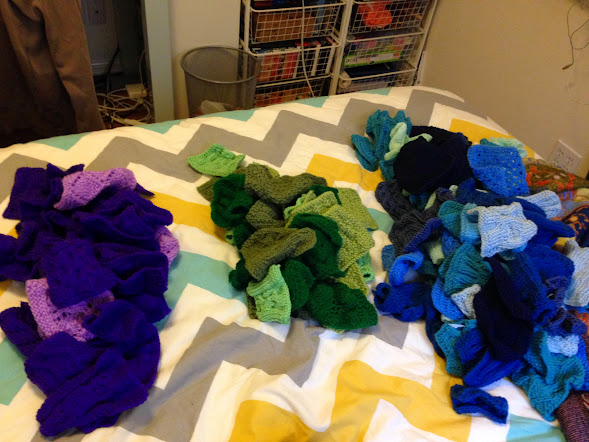
Then I took each group and sorted by main color. IN this picture of the cool colors, I have purple, blue, and green, even though there are many different shades in each. Those piles were then separated further into their shades, counted, and bagged with the number on them.
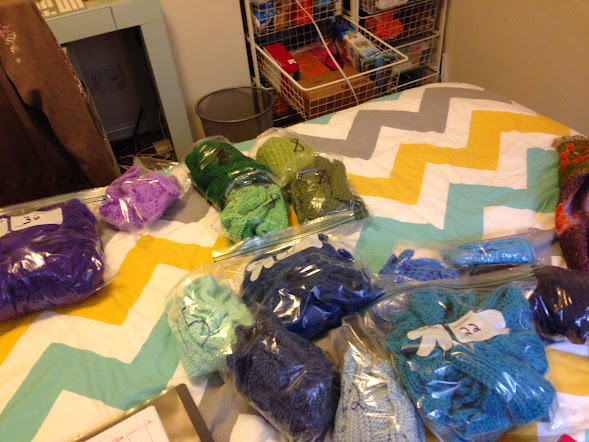
Once I had them separated, I went ahead and roughly measured them to even further group them by size. This will come in handy when I go to join them together into blankets.
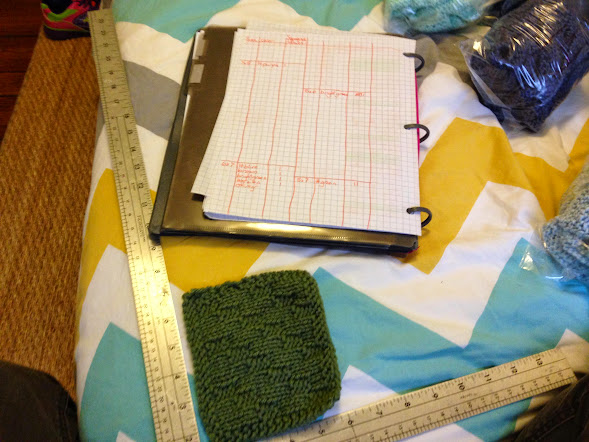
Of course, at first I neglected to realize my L-square actually measures from the outside edge so everything I was measuring was coming out an inch larger than it really was. I fixed that and catalogued all the colors and sizes in a nice little spreadsheet for even easier reference when I’m setting up the blankets.
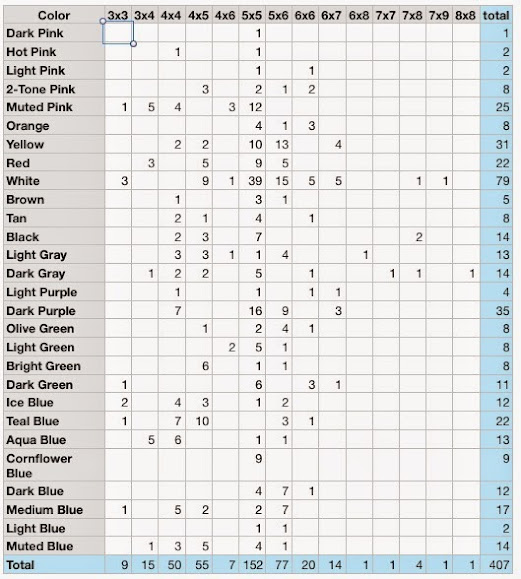
Quick facts from the chart:

  • The most popular size of square was five inches by five inches
  • This was a little surprising since I set out to make four inch by four inch squares originally

  • The color that was made into the most squares was white.
  • The only color to not have a five by five square was teal.
  • I managed to only make the cornflower blue squares five inches by five inches.

NaBloPoMo November 2014

Charting and Ripping

Well, not that kind of ripping. Except maybe a little. Charting increases can get a little frustrating.

Don’t let this picture fool you, either. Ive gotten to, and past, that point at least three times by now. I stopped counting how many times I had to redo it. I keep getting to a certain point and having to rip the whole thing out and start over because I get off in the stitches and can’t figure out where.

This is going to be a Christmas present, so on one hand I have time and on the other I don’t. Once I get done with the crown increases it’s just simple knits and purls. It’s this crown that’s giving me the problem now.

NaBloPoMo November 2014

The Finishing Touch

Remember my mesh t-shirt I made a while back? Well, I wore it once and then tossed it in my repair bin. Not because it fell apart when I washed it, but because I didn’t like the way the bottom looked.

It was constantly riding up as I wore the shirt, plus it just looked unfinished as a raw edge:

So I decided to do something about it. I picked up stitches across the bottom at a ratio of 4 in every large space (I think it’s a chain 3 space?) and 1 in each small space (between two single crochet stitches).

Then I knit that in a 2×2 rib on size 4 needles for about an inch, bound off with Jeny’s Surprisingly Stretchy Bind-Off, and wove in the ends. Basically a 30-minute project that gives the piece the finished look it was missing.

Being 100% cotton yarn, the ribbing doesn’t actually hold anything in place. The extra inch seems to help in not feeling like the shirt is riding up all the time, though. Or perhaps that is thanks to the jeans I was wearing holding onto the new waistband. Either way, I’m liking the shirt much better now. Amazing how much difference something so small can make.