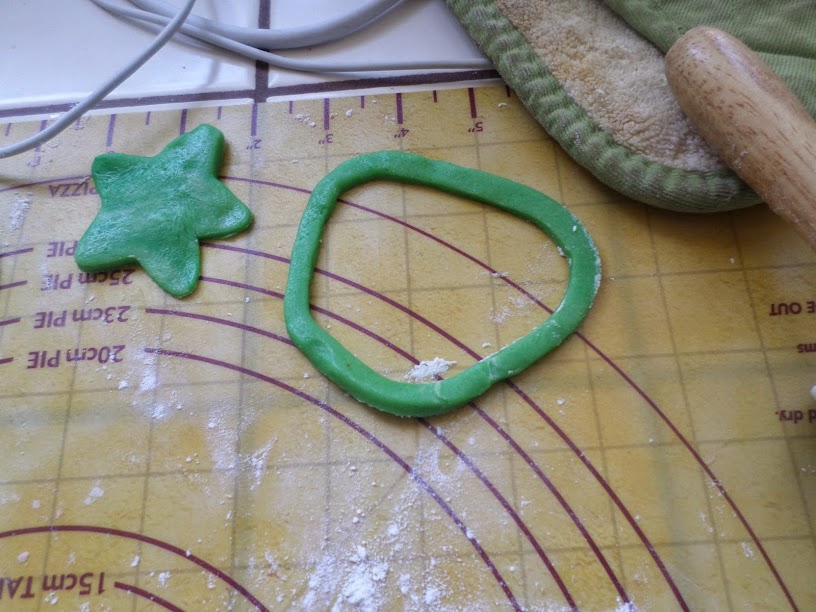
So yesterday we baked a cake. Now it’s time to frost and decorate.
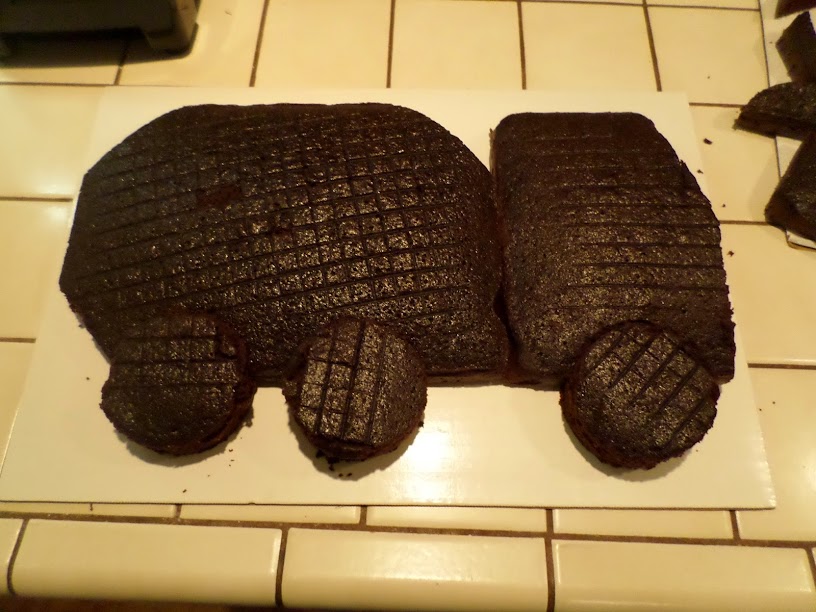
We have two sheet cakes that were left to cool all afternoon, now we have to truck-ify them. Yes, that’s a word. A word I just made up. Anyway, starting with one cake, cut the corners off one short side and the top of the other. Cut the other cake in half and place it next to the first cake. Now take a circular cookie cutter that seems like a good size for the wheels and cut two wheel wells into the body of the truck and one into the front. Then cut three wheels from the remaining half-cake and put them into place. Also, cut the front at a slight angle to create the windshield.
Now is time to make the frosting to hold this thing together.

Again, gather your ingredients. Then, start by measuring out your powdered sugar, your shortening, and add another 1/4 cup of sugar because you accidentally used a 1/4 cup rather than the 1/3 cup measure you meant to grab. Here’s where I changed it up again, I used 1 teaspoon of strawberry extract rather than the vanilla called for in the recipe. Like the recipe says, this looks nothing like icing at the beginning, but let the mixer run and it will soon smooth out.

Now you can mix in colors and “glue” all the pieces together with it. You want to thin it out and make a crumbcoat first. That has to sit overnight at least. Then you will also thin out the icing you use as your base color.
Make more icing, using the original vanilla flavor this time, to use for decorating. I used the “grass” tip to add texture to the wheels, a flat tip to fill larger spaces, and a number 2 tip for piping lines. Here’s the end result:
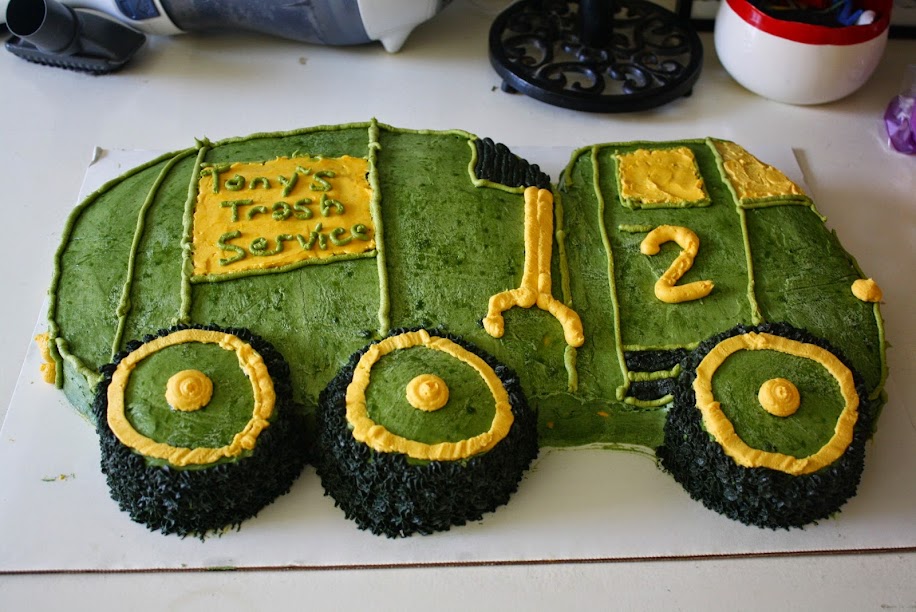
The icing sweat because it had been kept in the refrigerator overnight, but other than that it turned out perfectly. It’s still really delicious, and it is now nearing a week old.